官网:https://github.com/alibaba/Sentinel
中文:https://github.com/alibaba/Sentinel/wiki/%E4%BB%8B%E7%BB%8D
是什么

能干嘛
代替了Hystrix

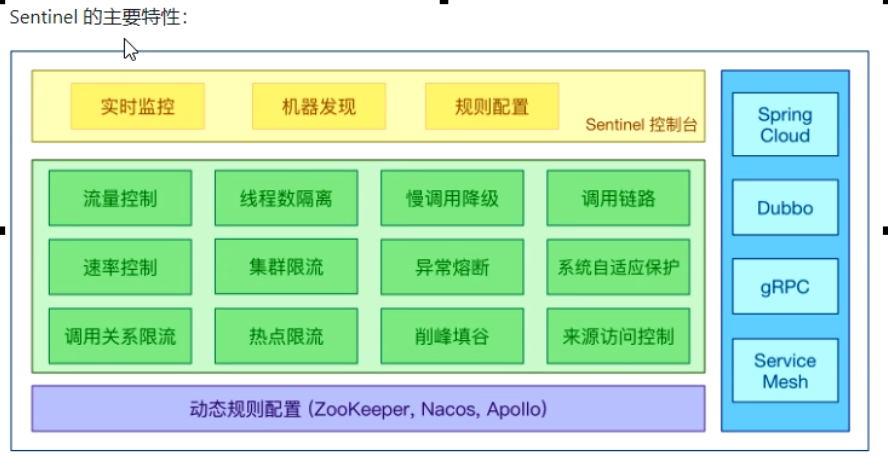
Sentinel分为两个部分:
核心库(Java客户端)不依赖任何框架/库,能够运行于所有Java运行时环境,同时对Dubbo/Spring Cloud等框架也有较好的支持。
控制台(Dashboard)基于SpringBoot开发,打包后可以直接运行,不需要额外的Tomcat等应用容器。
安装步骤:
- 前提
- 下载地址:https://github.com/alibaba/Sentinel/releases
- 下载到本地sentinel-dashboard-1.7.0.jar
- 运行命令:java -jar sentinel-dashboard-1.7.0.jar
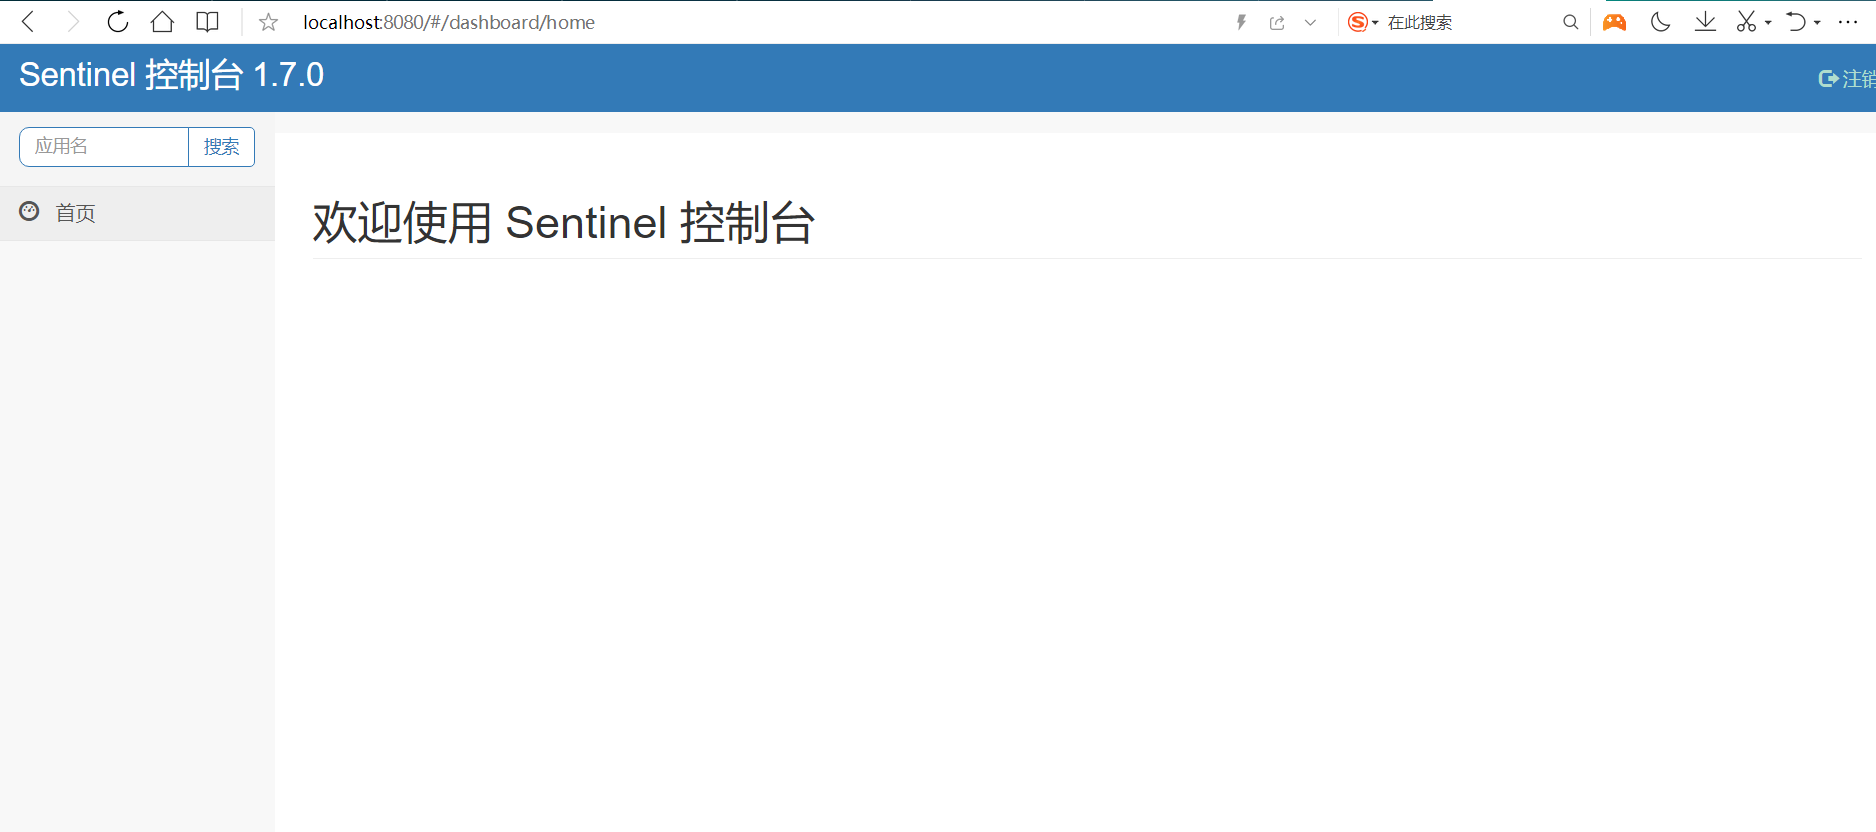
访问sentinel管理界面
http://localhost:8080
登录账号密码均为sentinel


1.Sentinel 初始化监控
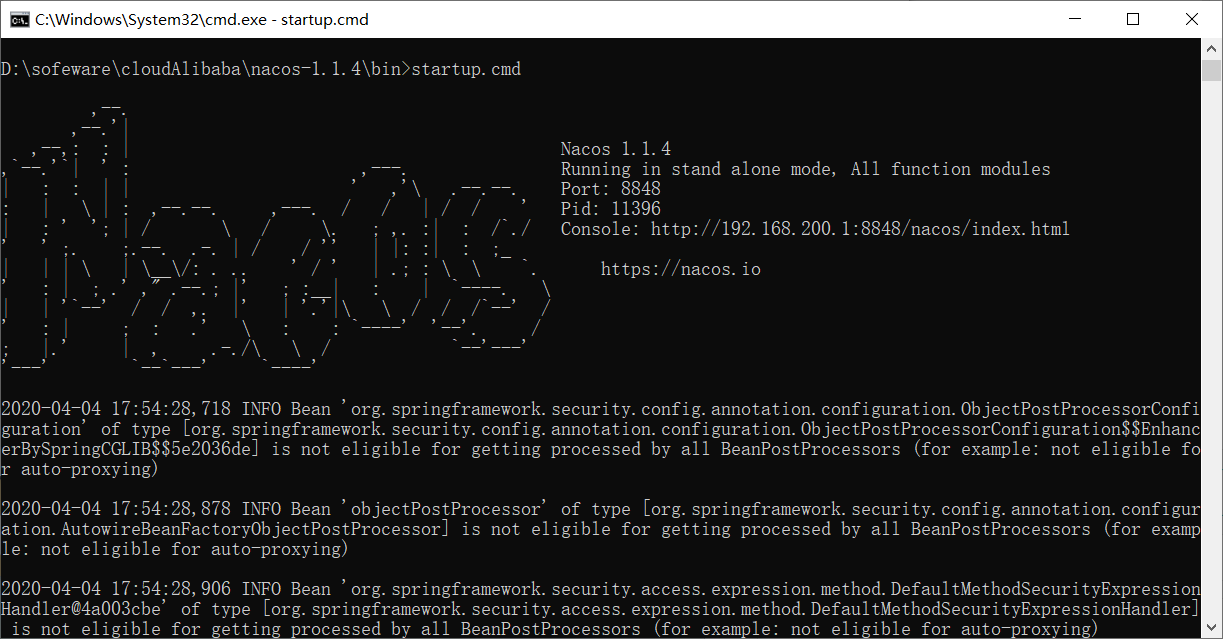
1.1 启动服务注册中心 Nacos
 8848
8848
1.2 新建module cloudalibaba-sentinel-service8401
pom.xml
1
2
3
4
5
6
7
8
9
10
11
12
13
14
15
16
17
18
19
20
21
22
23
24
25
26
27
28
29
30
31
32
33
34
35
36
37
38
39
40
41
42
43
44
45
|
<dependencies>
<dependency>
<groupId>com.alibaba.cloud</groupId>
<artifactId>spring-cloud-starter-alibaba-nacos-discovery</artifactId>
</dependency>
<dependency>
<groupId>com.alibaba.csp</groupId>
<artifactId>sentinel-datasource-nacos</artifactId>
</dependency>
<dependency>
<groupId>com.alibaba.cloud</groupId>
<artifactId>spring-cloud-starter-alibaba-sentinel</artifactId>
</dependency>
<dependency>
<groupId>org.springframework.cloud</groupId>
<artifactId>spring-cloud-starter-openfeign</artifactId>
</dependency>
<dependency>
<groupId>org.springframework.boot</groupId>
<artifactId>spring-boot-starter-web</artifactId>
</dependency>
<dependency>
<groupId>org.springframework.boot</groupId>
<artifactId>spring-boot-starter-actuator</artifactId>
</dependency>
<dependency>
<groupId>org.projectlombok</groupId>
<artifactId>lombok</artifactId>
<optional>true</optional>
</dependency>
<dependency>
<groupId>org.springframework.boot</groupId>
<artifactId>spring-boot-starter-test</artifactId>
<scope>test</scope>
</dependency>
<dependency>
<groupId>com.atguigu.springcloud</groupId>
<artifactId>cloud-api-commons</artifactId>
<version>${project.version}</version>
</dependency>
</dependencies>
|
application.yml
1
2
3
4
5
6
7
8
9
10
11
12
13
14
15
16
17
18
19
20
21
22
23
24
25
|
server:
port: 8401
spring:
application:
name: cloudalibaba-sentinel-service
cloud:
nacos:
discovery:
server-addr: localhost:8848
sentinel:
transport:
dashboard: localhost:8080
port: 8719
management:
endpoints:
web:
exposure:
include: '*'
|
主启动类
1
2
3
4
5
6
7
8
9
10
11
12
|
package com.atguigu.springcloud.alibaba;
import org.springframework.boot.SpringApplication;
import org.springframework.boot.autoconfigure.SpringBootApplication;
import org.springframework.cloud.client.discovery.EnableDiscoveryClient;
@SpringBootApplication
@EnableDiscoveryClient
public class MainApp8401 {
public static void main(String[] args) {
SpringApplication.run(MainApp8401.class,args);
}
}
|
业务类
1
2
3
4
5
6
7
8
9
10
11
12
13
14
15
16
|
package com.atguigu.springcloud.alibaba.controller;
import org.springframework.web.bind.annotation.GetMapping;
import org.springframework.web.bind.annotation.RestController;
@RestController
public class FlowLimitController {
@GetMapping("/testA")
public String testA(){
return "--------testA";
}
@GetMapping("/testB")
public String testB(){
return "--------testB";
}
}
|
1.3 启动sentinel8080
java -jar sentinel-dashboard-1.7.x.jar
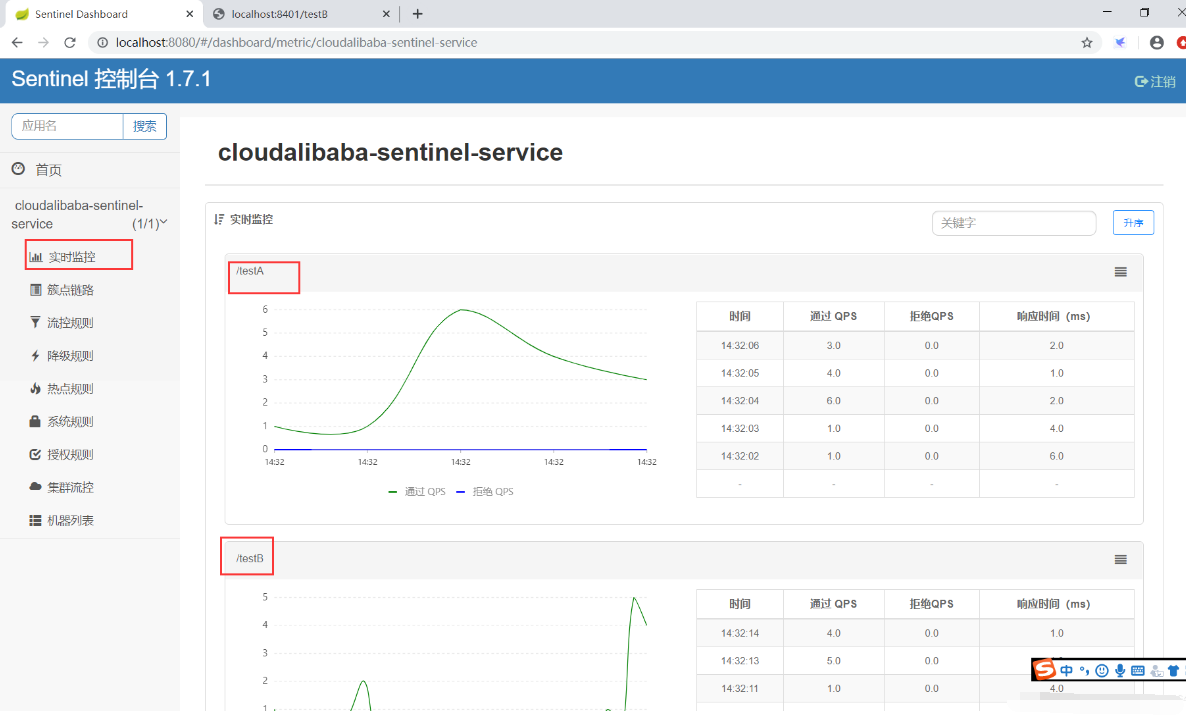
1.4 启动8401微服务查看sentinel控制台

这样sentinel8080就在监控微服务8401了。

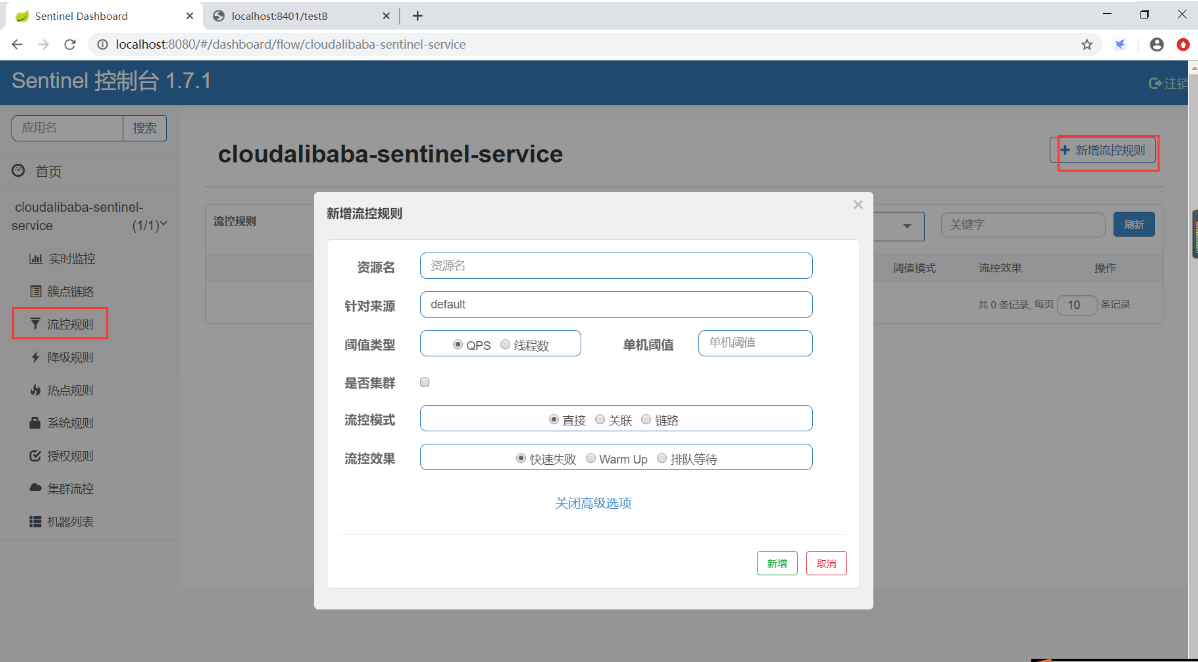
2.Sentinel 流控(重中之重)
流控规则基本介绍:

- QPS(每秒钟的请求数量):当调用该api的QPS达到阈值的时候,进行限流
- 线程数:当调用该api的线程数达到阈值的时候,进行限流
- 直接:api达到限流条件时,直接限流
- 关联:当关联的资源达到阈值时,就限流自己
- 链路:只记录指定链路上的流量(指定资源从入口资源进来的流量,如果达到阈值,就进行限流)
- 快速失败:直接失败,抛异常
- Warm Up:根据codeFactor(冷加载因子,默认3)的值,从阈 值/codeFactor,经过预热时长,才达到设置的QPS阈值。
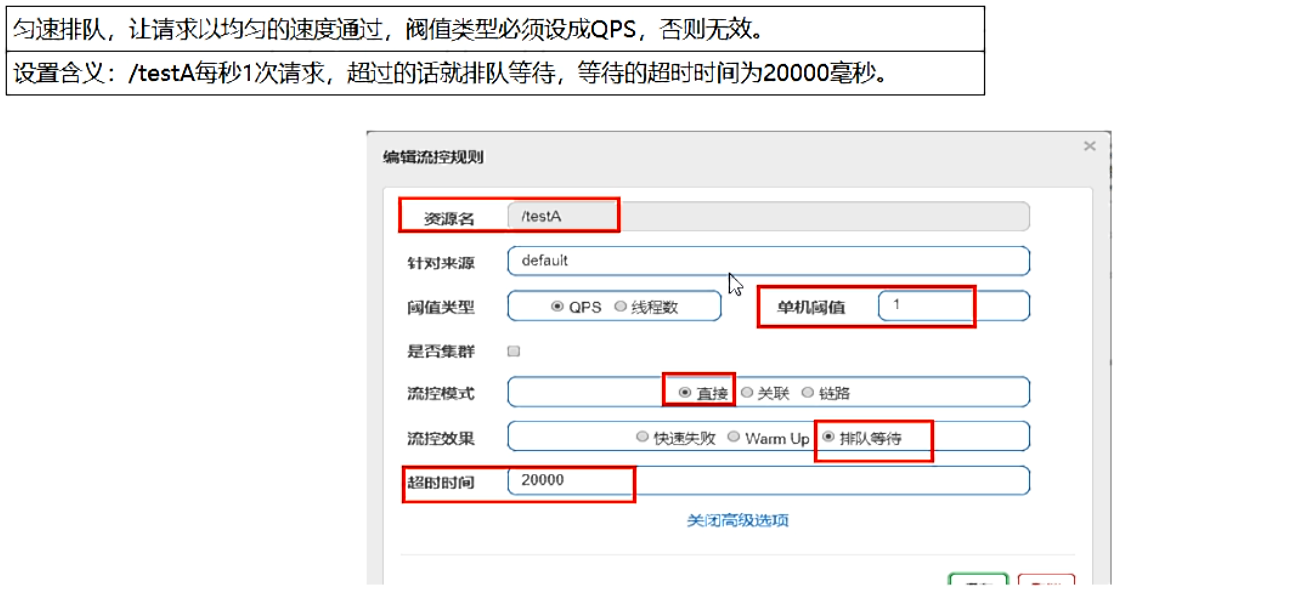
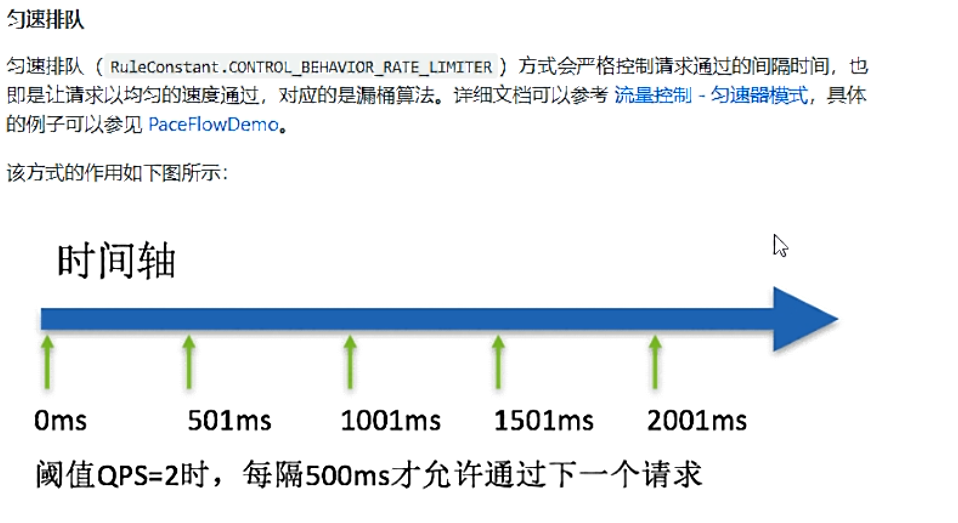
- 排队等待:匀速排队,让请求以匀速的速度通过,阈值类型必须设置为QPS。否则无效。
流控规则:
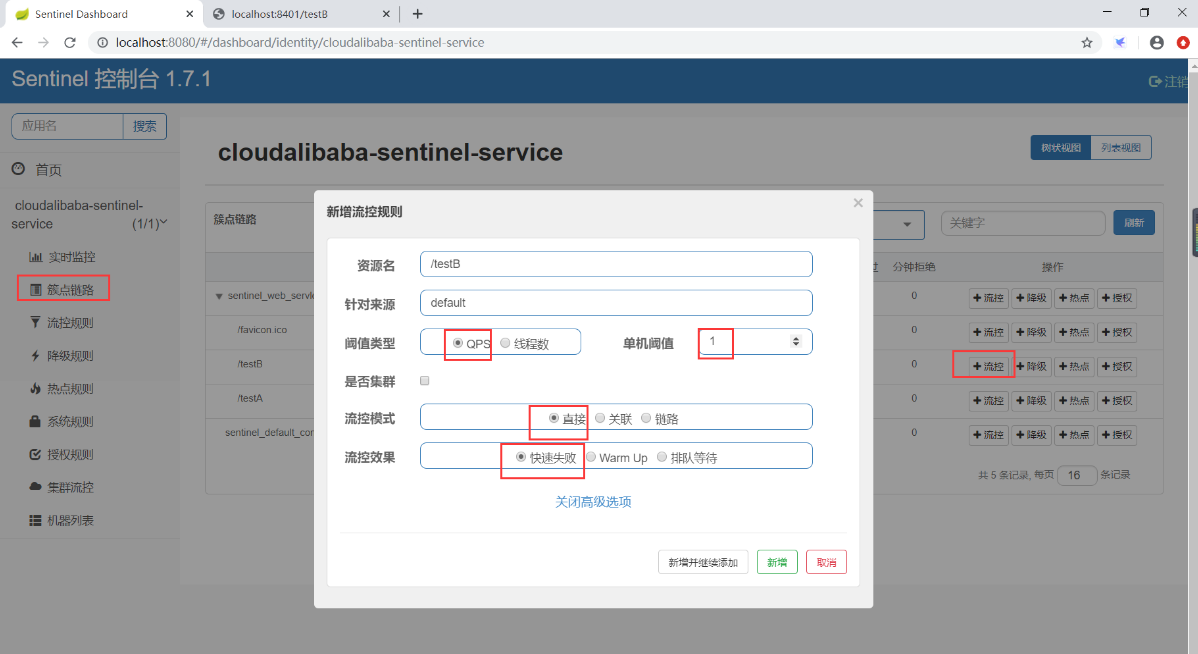
2.1 流控模式——直接 快速失败(QPS)

每秒内请求超过1次报错,这就是限流了。

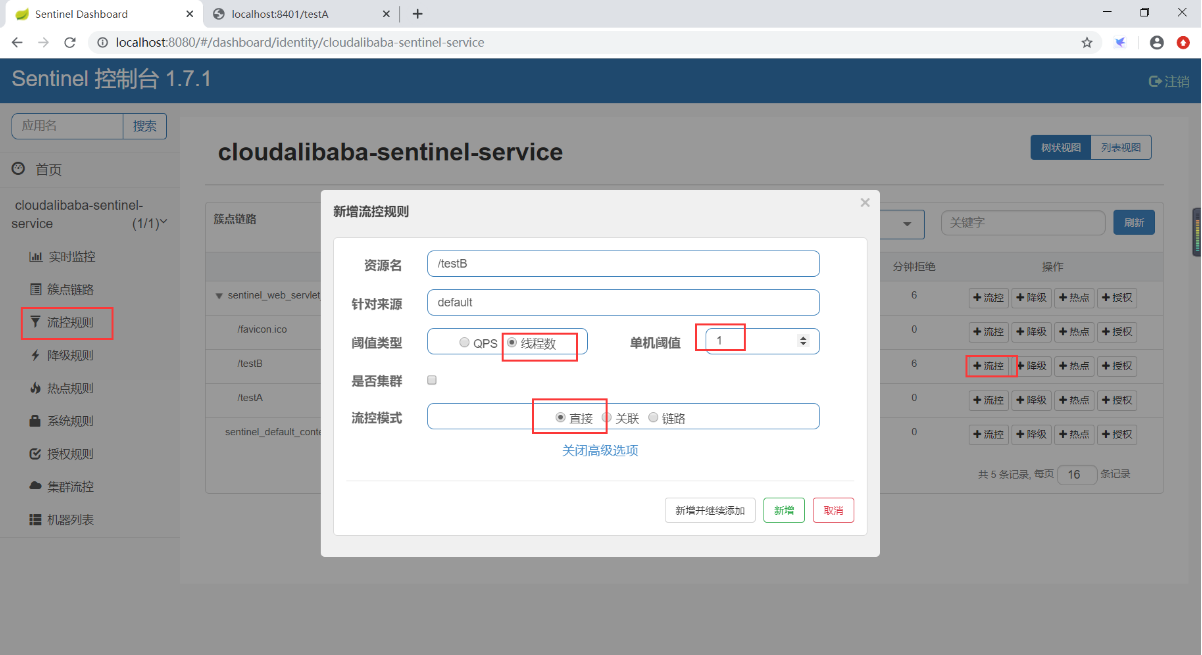
2.2 流控模式——直接 快速失败(线程数)

当调用该api的线程数达到阈值的时候,进行限流
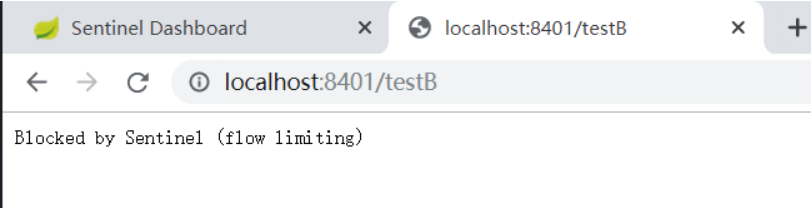
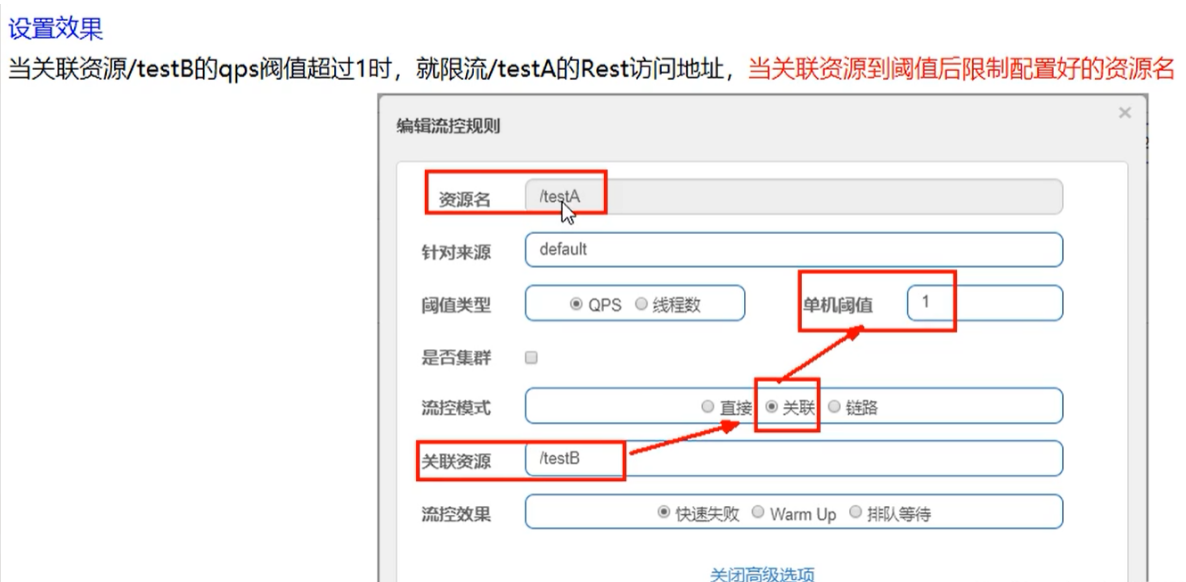
2.3 流控模式——关联 快速失败

当有大量并发请求打到B上,A就限流自己。
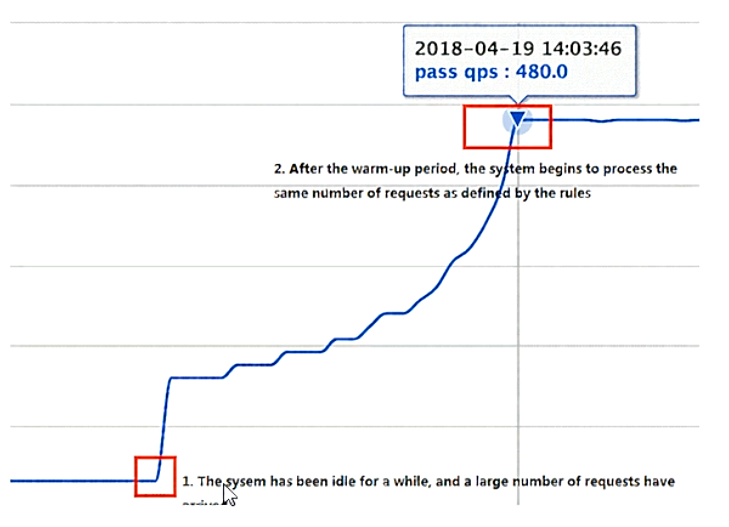
2.4 流控效果——Warm Up
Warm Up方式,即预热/冷启动方式。当系统长期处于低水位的情况下,当流量突然增加时,直接把系统拉升到高水位可能瞬间把系统压垮。通过“冷启动”,让通过的流量缓慢增加,在一定时间内逐渐增加到阈值上限,给冷系统一个预热的时间,避免冷系统被压垮。

默认coldFactor为3,即请求QPS从threshold / 3开始,经预热时长逐渐升至设定的QPS阈值。

快速点击http://localhost:8401/testB
刚开始不行,后续慢慢OK
应用场景:
秒杀系统在开启的瞬间,会有很多流量进来,很有可能把系统打死,预热方式就是为了保护系统,可慢慢的把流量放进来,慢慢的把阈值增长到设置的阈值。
2.5 流控效果——排队等待

匀速排队,阈值必须设置为QPS
官网:

**源码:**com.alibaba.csp.sentinel.slots.block.flow.controller.RateLimiterController
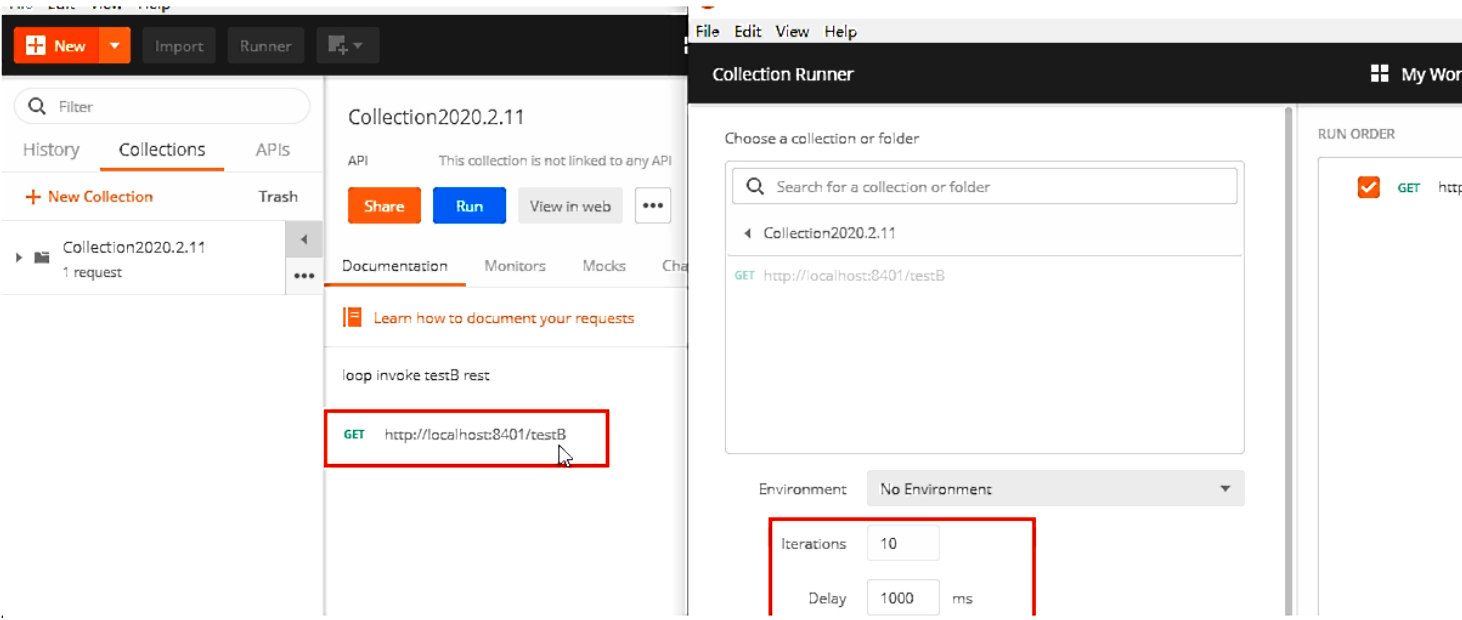
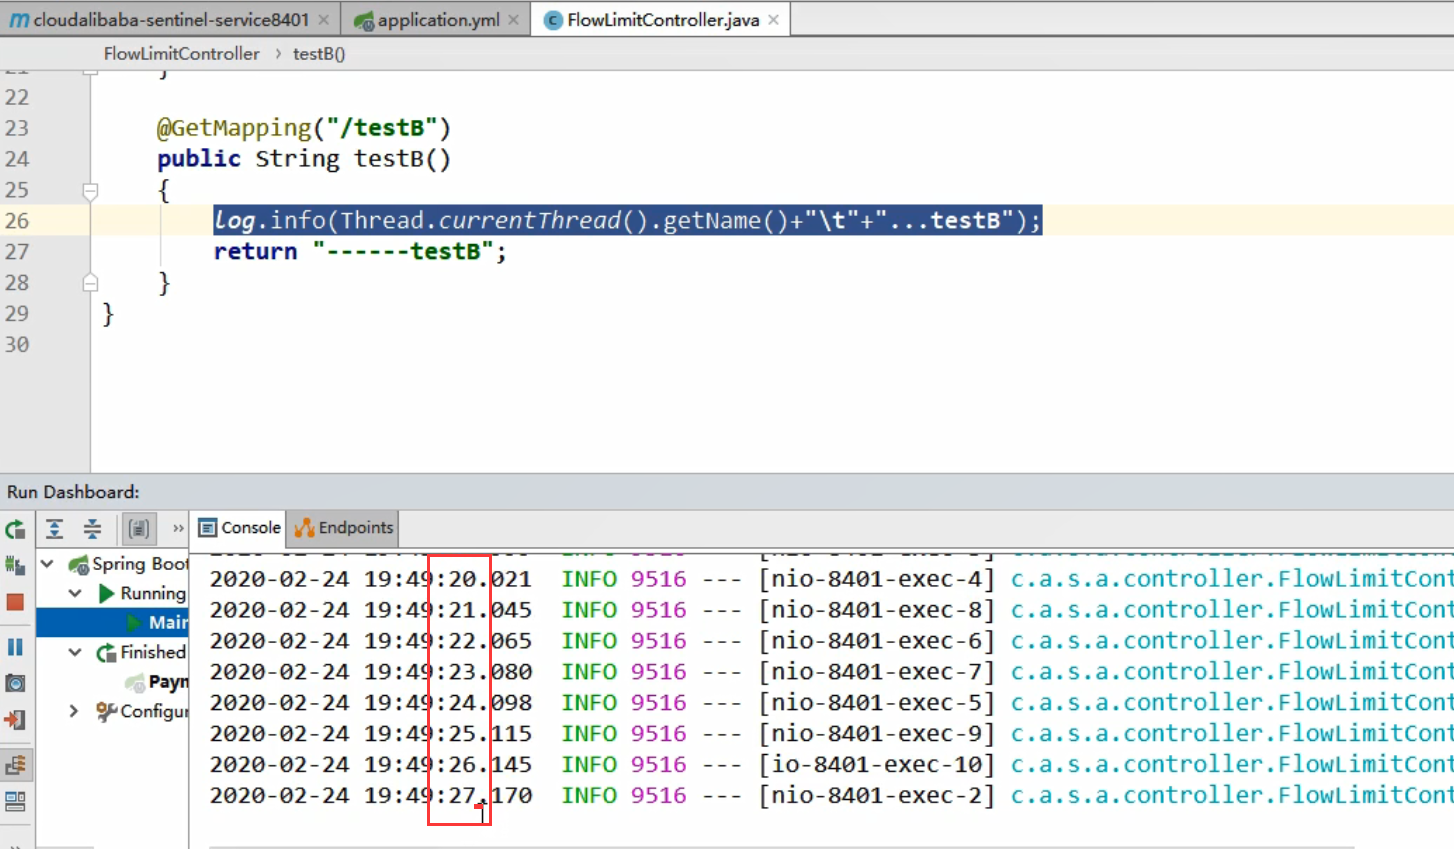
测试

每秒处理一个请求

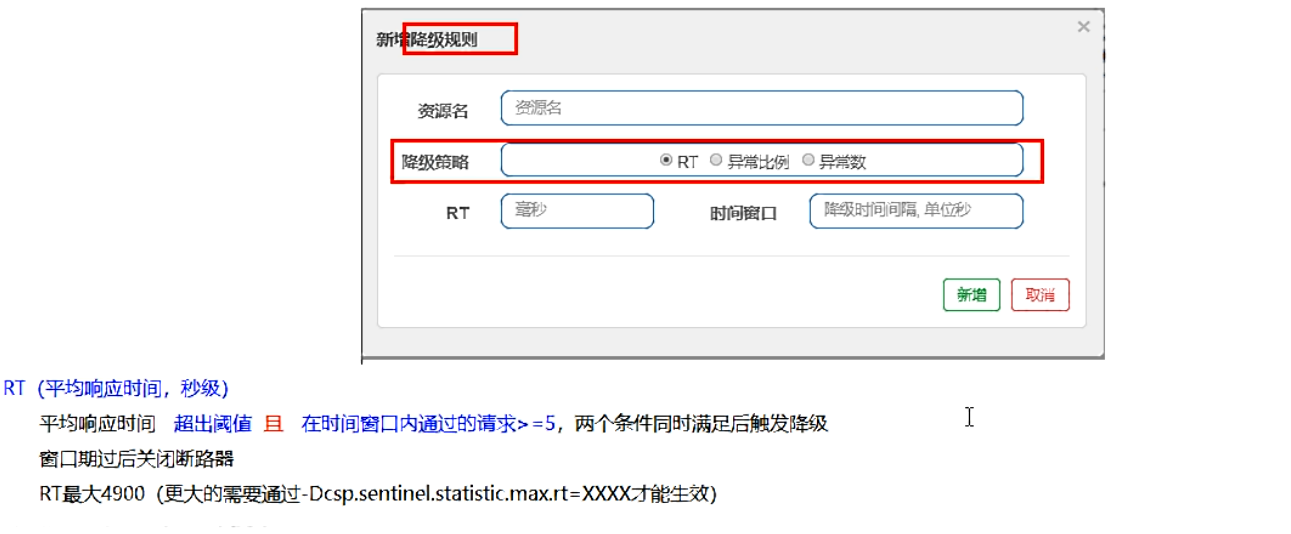
3.降级规则
3.1 基本介绍


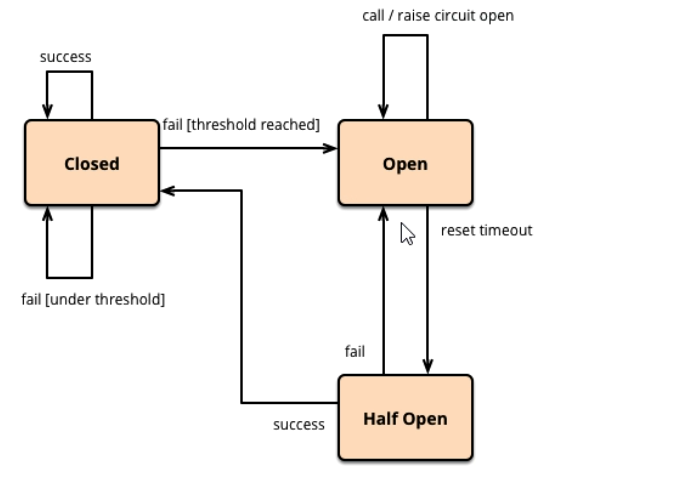
进一步说明

Sentinel的断路器是没有半开状态的
半开的状态系统自动去检测是否请求有异常,没有异常就关闭断路器恢复使用,有异常则继续打开断路器不可用。具体可以参考Hystrix

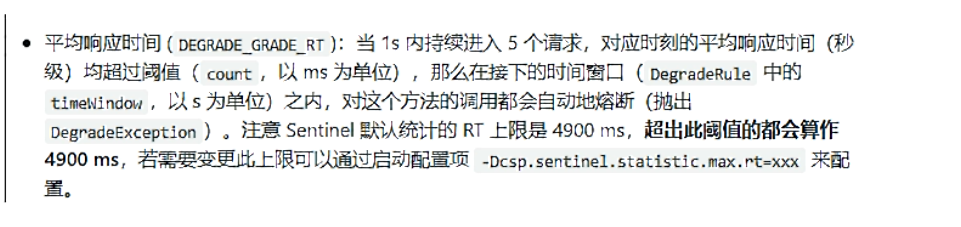
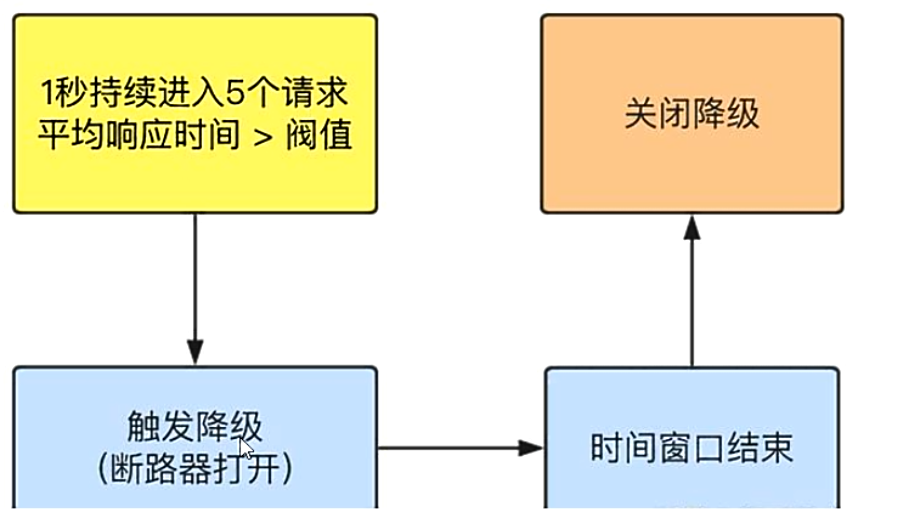
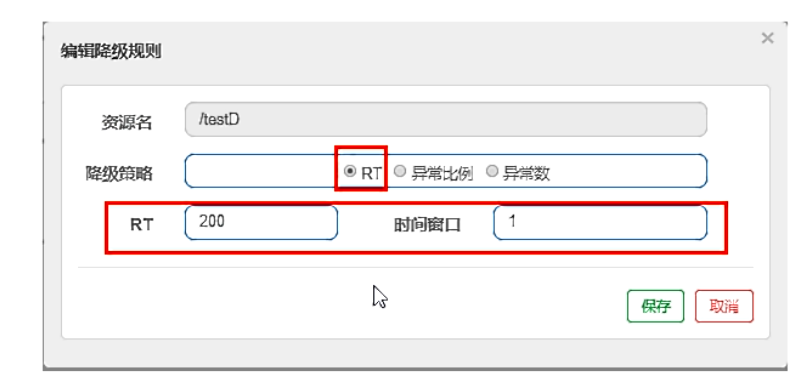
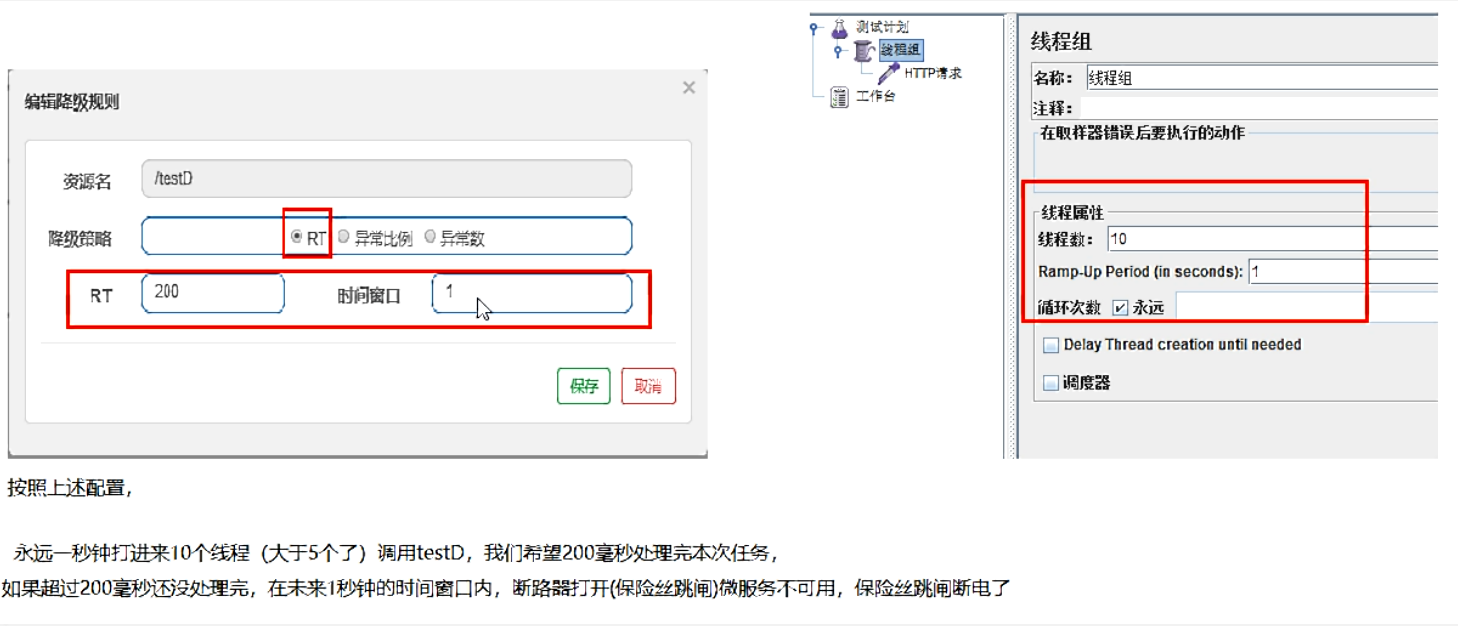
3.2 降级策略-RT
是什么


代码
1
2
3
4
5
6
7
8
| @GetMapping("/testD")
public String testD()
{
try { TimeUnit.SECONDS.sleep(1); } catch (InterruptedException e) { e.printStackTrace(); }
log.info("testD 测试RT");
return "------testD";
}
|


后续我停止jmeter,没这么大访问量,断路器关闭(保险丝恢复),微服务ok
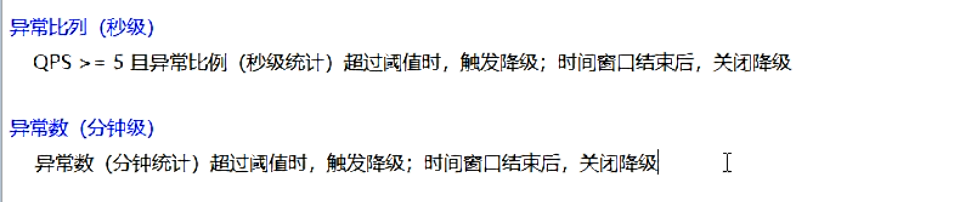
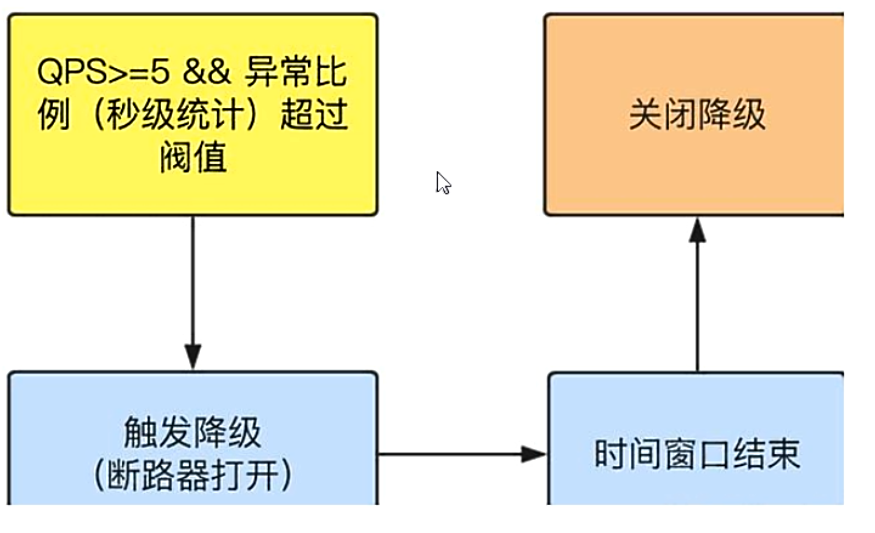
3.3 降级策略-异常比例
是什么


代码
1
2
3
4
5
6
7
8
| @GetMapping("/testD")
public String testD()
{
log.info("testD 测试RT");
int age = 10/0;
return "------testD";
}
|
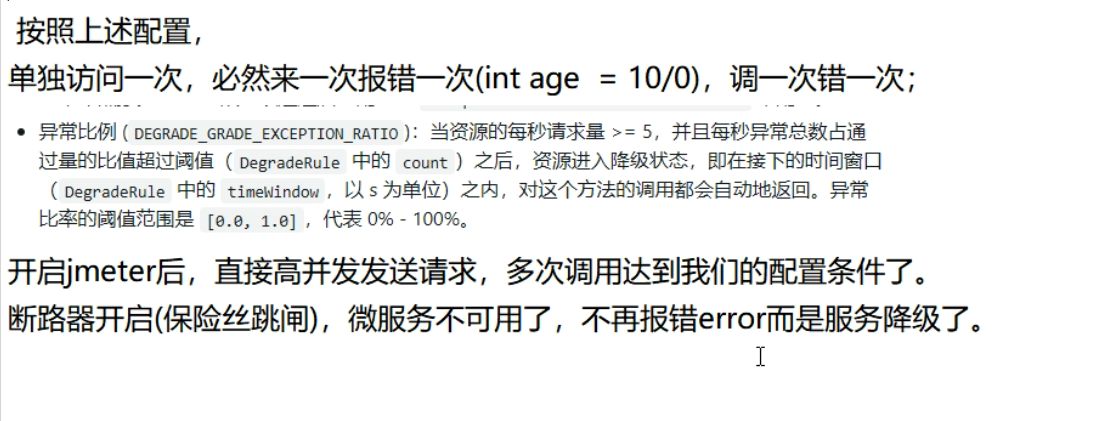
配置

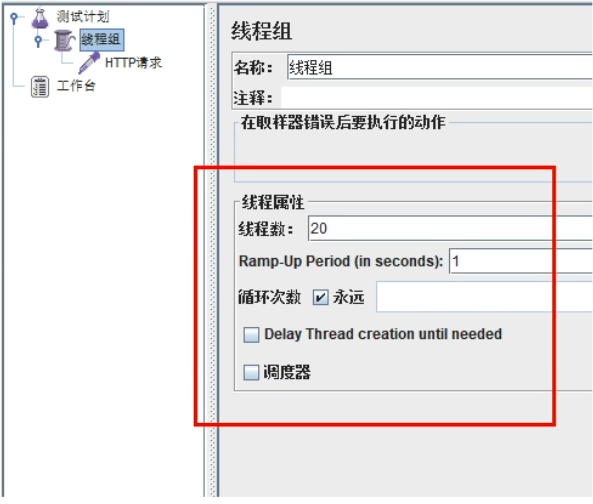
jmeter

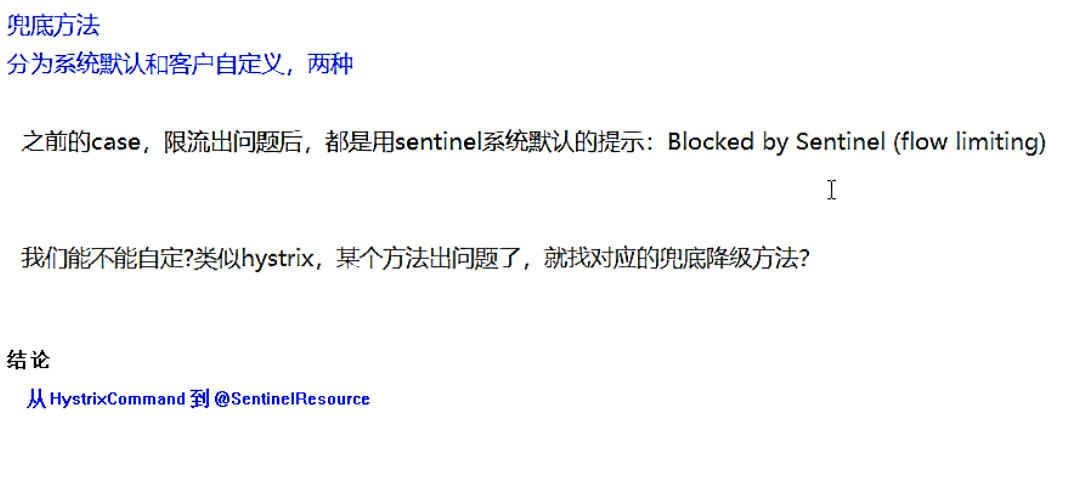
结论

3.4 降级策略-异常数
是什么


异常数是按照分钟统计的
代码
1
2
3
4
5
6
7
| @GetMapping("/testE")
public String testE()
{
log.info("testE 测试异常数");
int age = 10/0;
return "------testE 测试异常数";
}
|
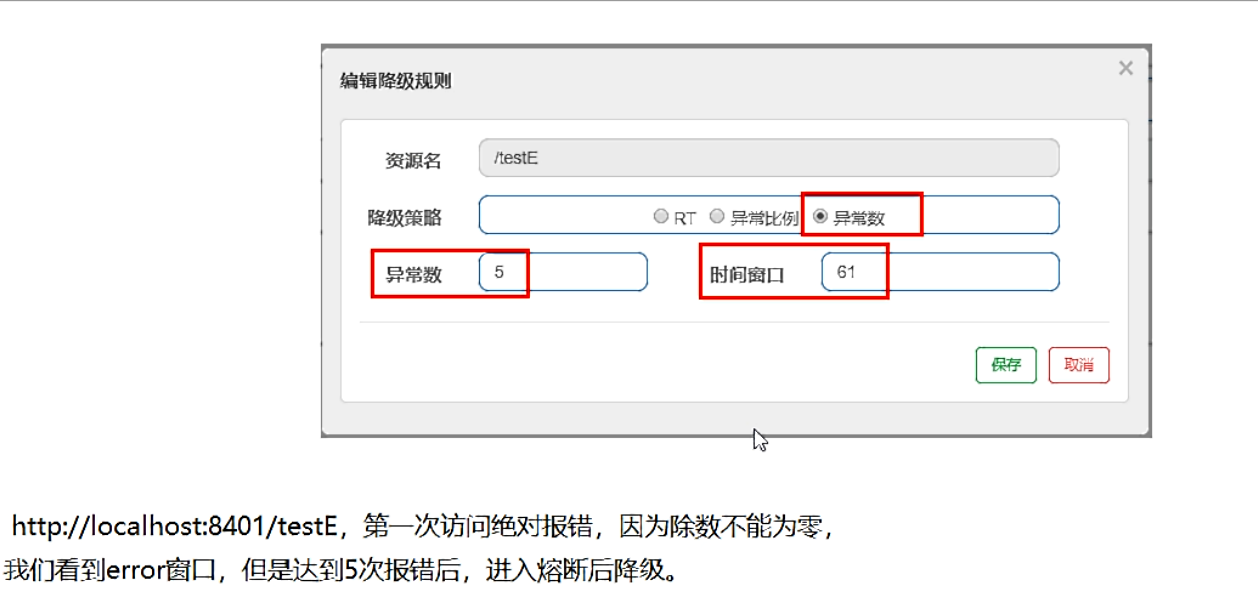
配置

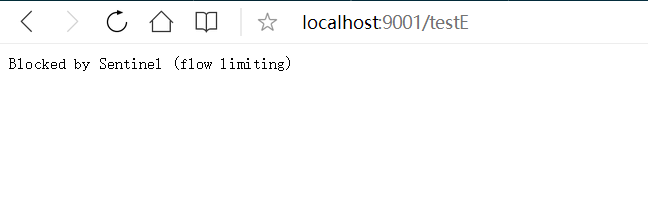
结果
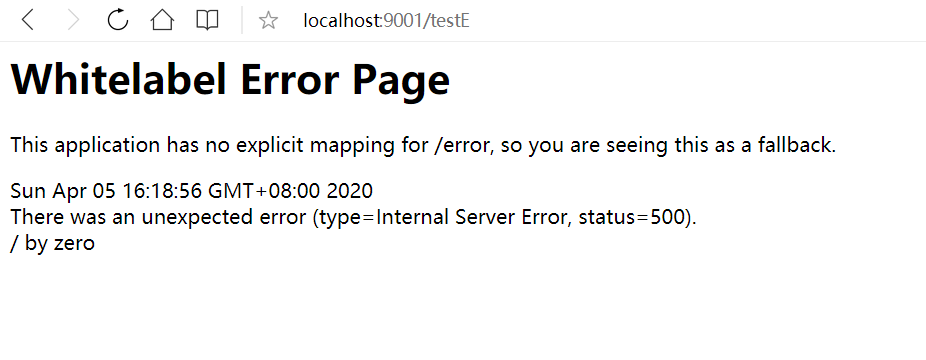
前五次访问

第六次及之后

4. 热点key限流
是什么

官网:https://github.com/alibaba/Sentinel/wiki/热点参数限流

代码
1
2
3
4
5
6
7
8
9
10
11
12
13
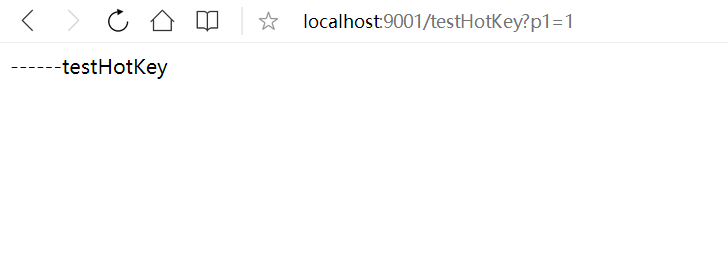
| @GetMapping("/testHotKey")
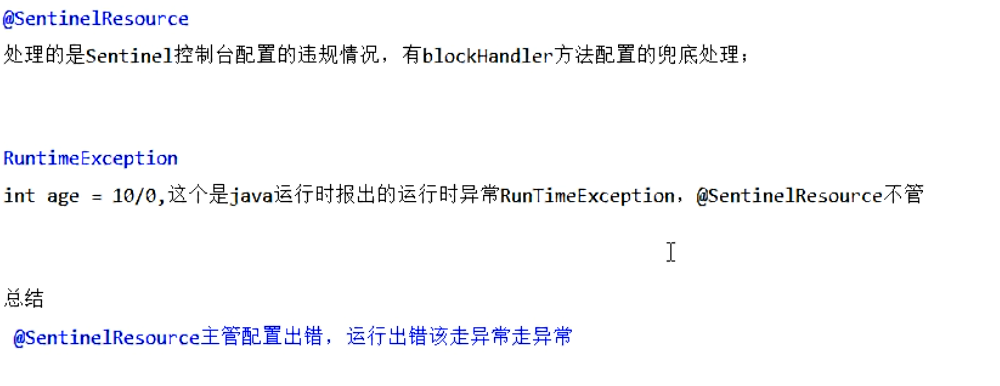
@SentinelResource(value = "testHotKey",blockHandler = "deal_testHotKey")
public String testHotKey(@RequestParam(value = "p1",required = false) String p1,
@RequestParam(value = "p2",required = false) String p2) {
return "------testHotKey";
}
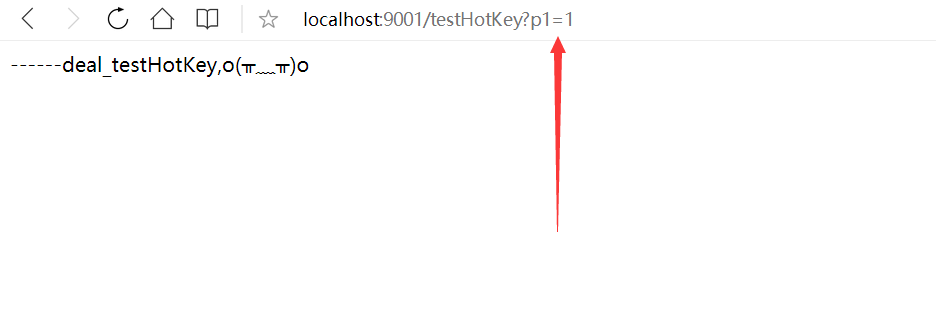
public String deal_testHotKey (String p1, String p2, BlockException exception){
return "------deal_testHotKey,o(╥﹏╥)o";
}
|
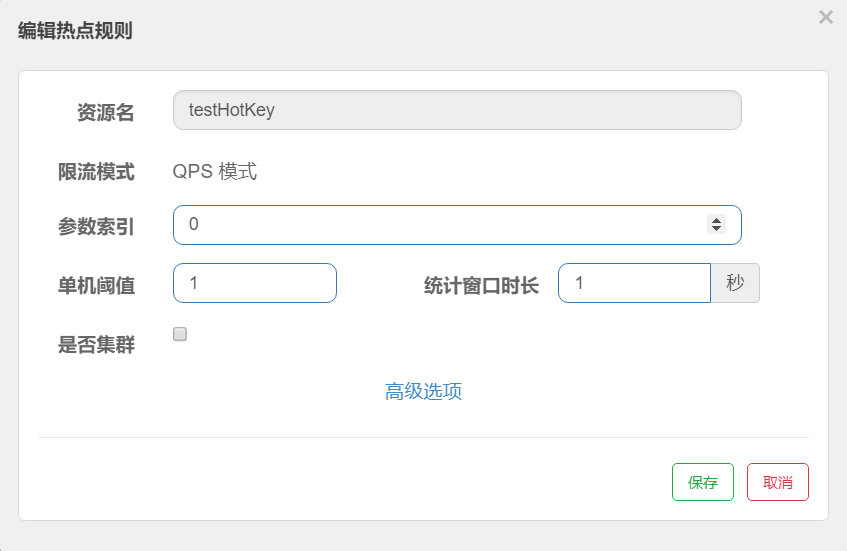
配置


@SentinelResource(value = “testHotKey”,blockHandler = “deal_testHotKey”)
方法testHostKey里面第一个参数只要QPS超过每秒1次,马上降级处理,用了我们自己定义的

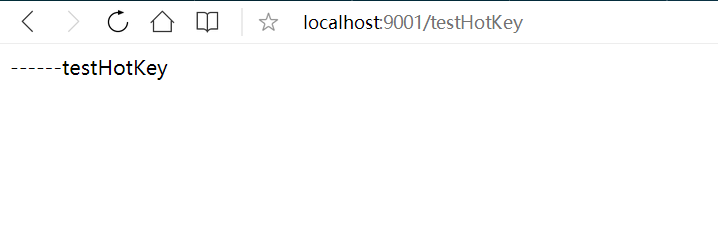
1s一次时候

1s多次时候,

上述案例演示了第一个参数p1,当QPS超过1秒1次点击后马上被限流
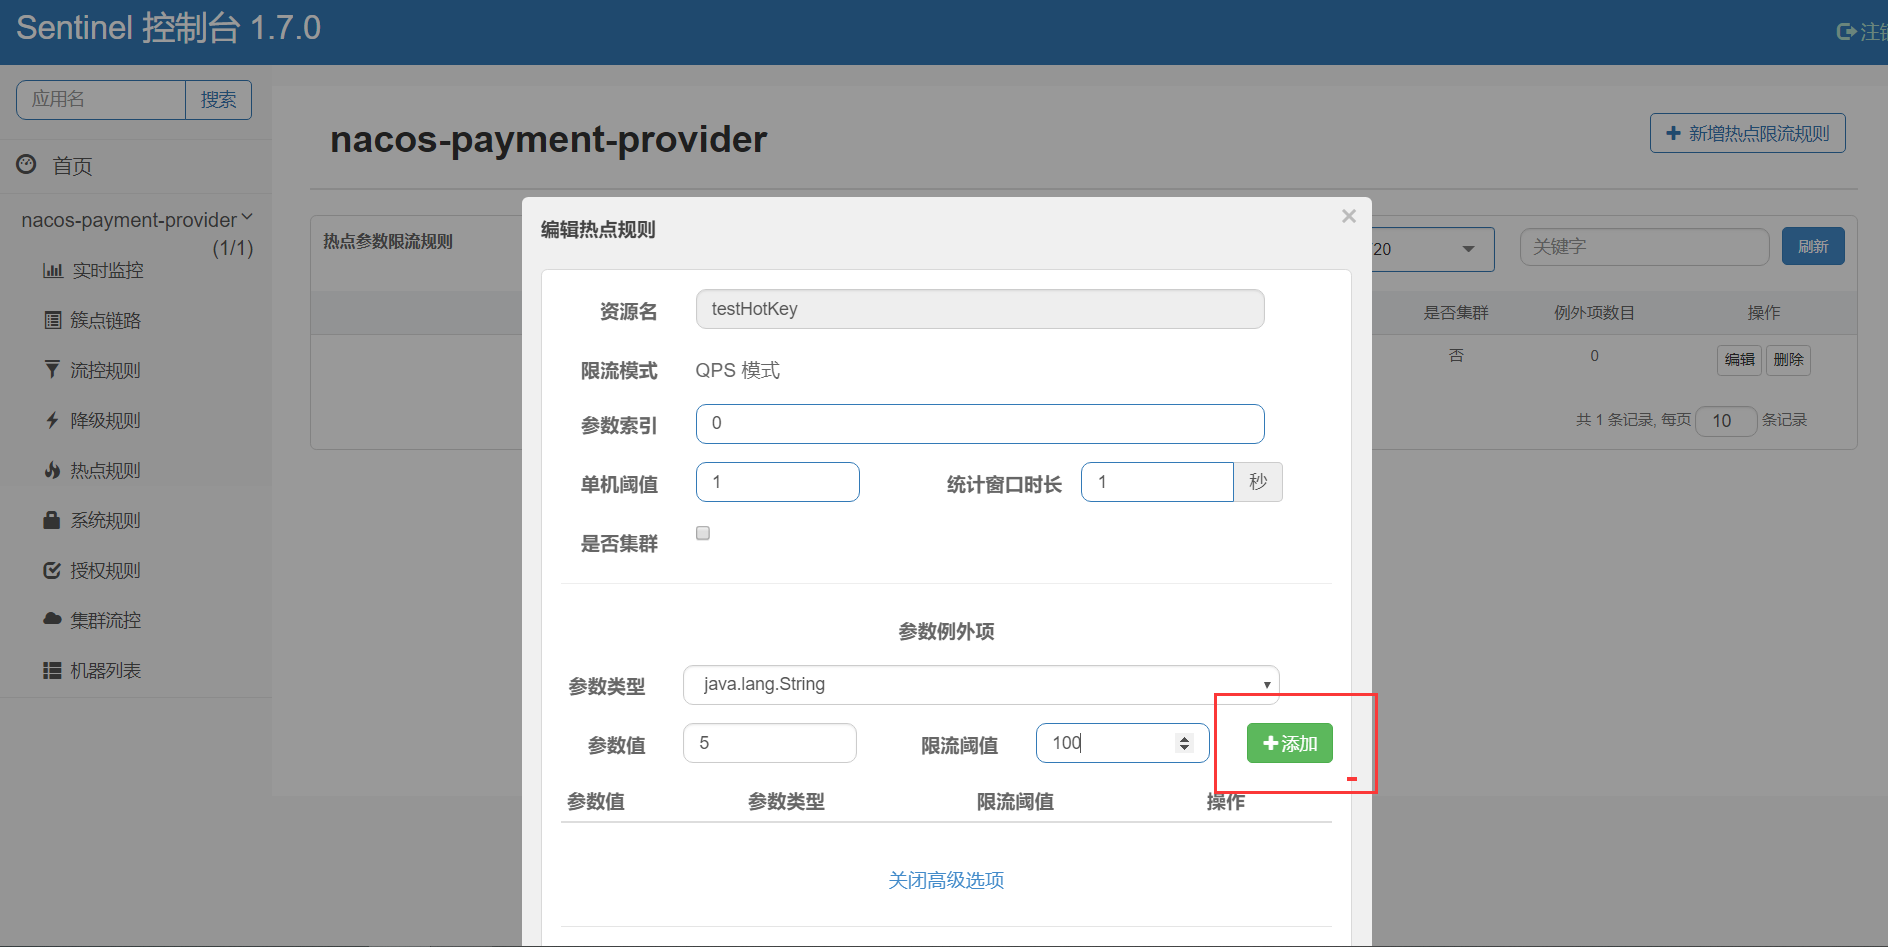
特殊情况
- 超过1秒钟一个后,达到阈值1后马上被限流
- 我们期望p1参数当它是某个特殊值时,它的限流值和平时不一样
- 假如当p1的值等于5时,它的阈值可以达到200

测试
当p1等于5的时候,阈值变为200
当p1不等于5的时候,阈值就是平常的1
热点参数的注意点,参数必须是基本类型或者String
5.手贱添加异常看看….

下一节继续


 8848
8848