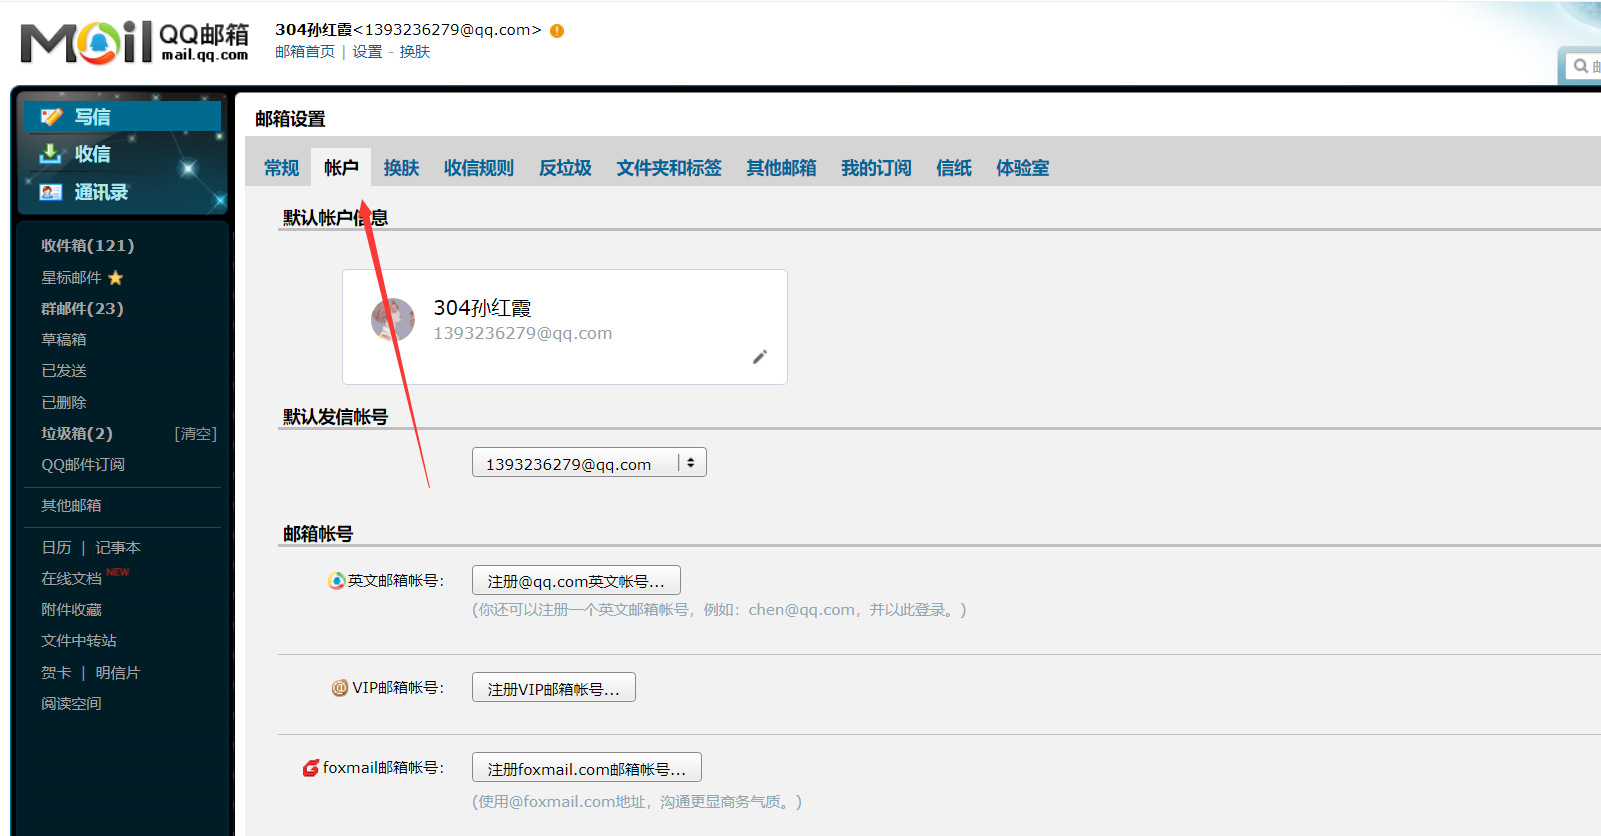
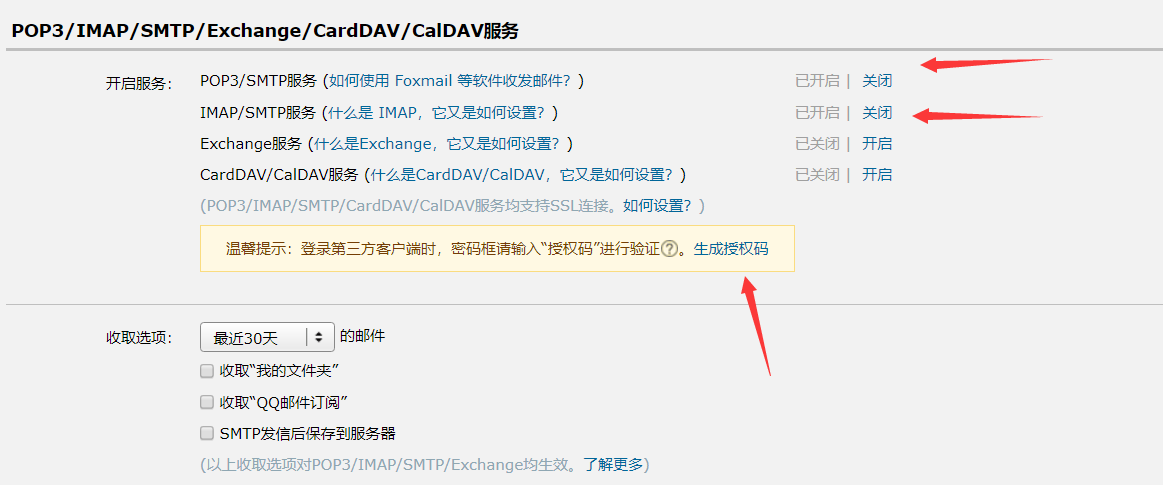
1. 邮箱配置 要确保使用的邮箱开启了客户端登录服务,以QQ邮箱为例:
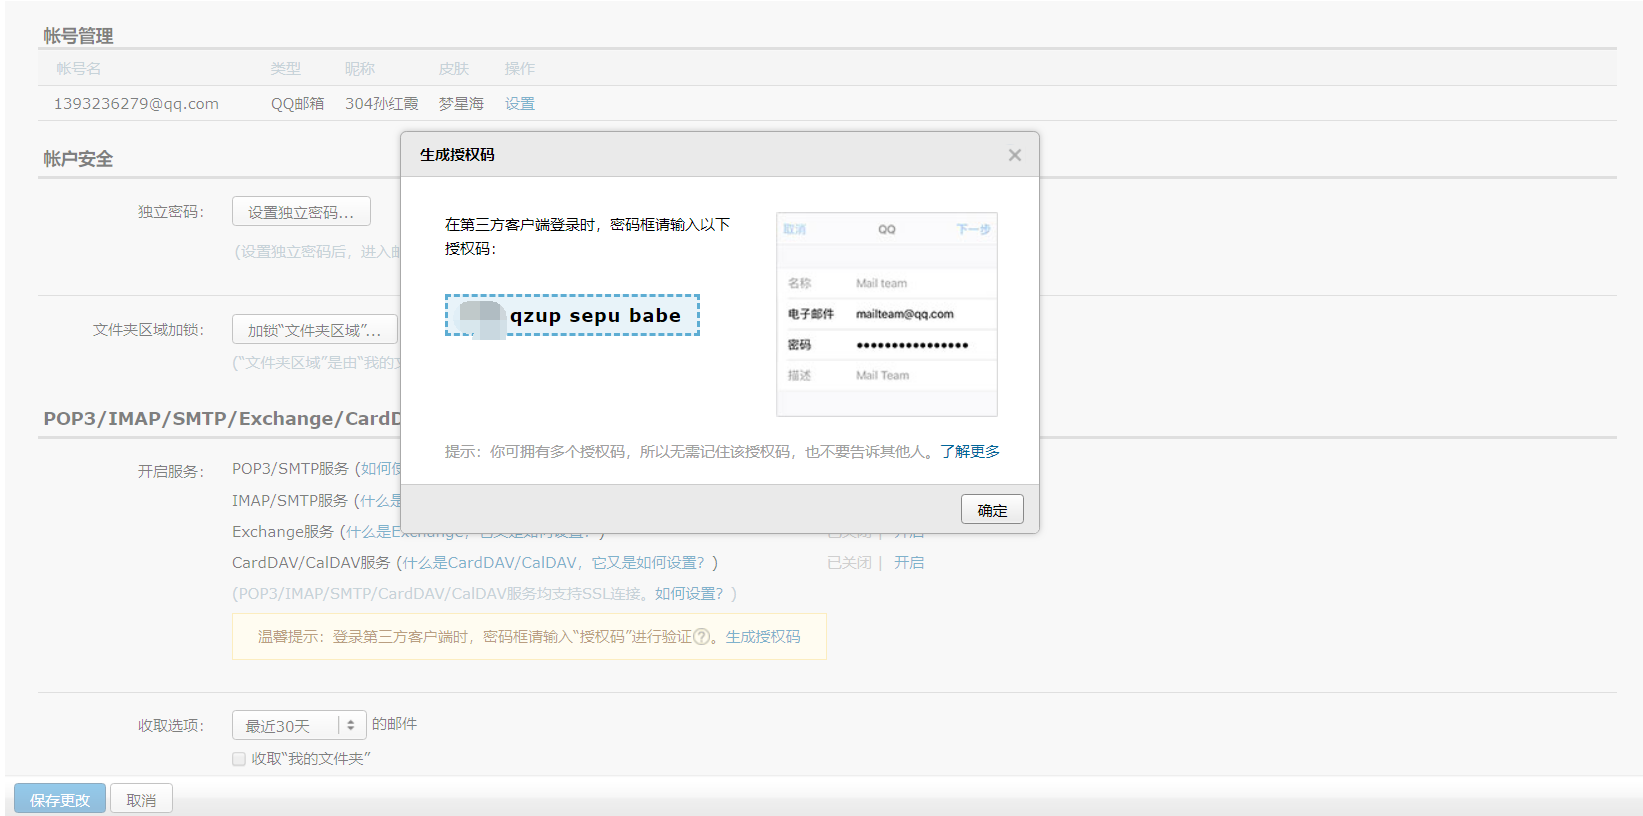
将下面两个服务全部开启,然后生成一个授权码(相当于独立密码非QQ密码)
2. 简单邮件发送 新建SpringBoot项目
引入依赖
1 2 3 4 <dependency > <groupId > org.springframework.boot</groupId > <artifactId > spring-boot-starter-mail</artifactId > </dependency >
配置application
1
2
3
4
spring.mail.username=1393236279@qq.com spring.mail.password=lntjqzupsepub spring.mail.host=smtp.qq.com spring.mail.properties.mail.smtp.ssl.enable=true
编写测试类
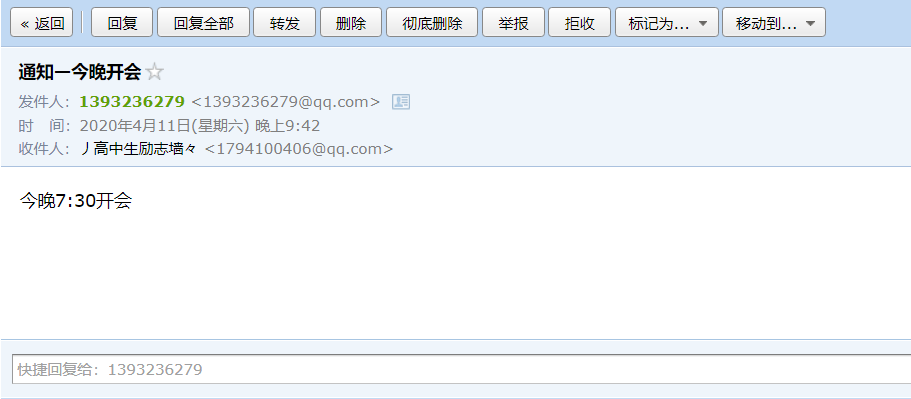
1
2
3
4
5
6
7
8
9
10
11
12
13
14
15
16
17
18
19
20
@SpringBootTest @RunWith(SpringRunner.class) class ZhanShenApplicationTests { @Autowired JavaMailSender mailSender; @Test void contextLoads () { SimpleMailMessage message=new SimpleMailMessage (); message.setSubject("通知—今晚开会" ); message.setText("今晚7:30开会" ); message.setTo("1794100406@qq.com" ); message.setFrom("1393236279@qq.com" ); mailSender.send(message); } }
测试
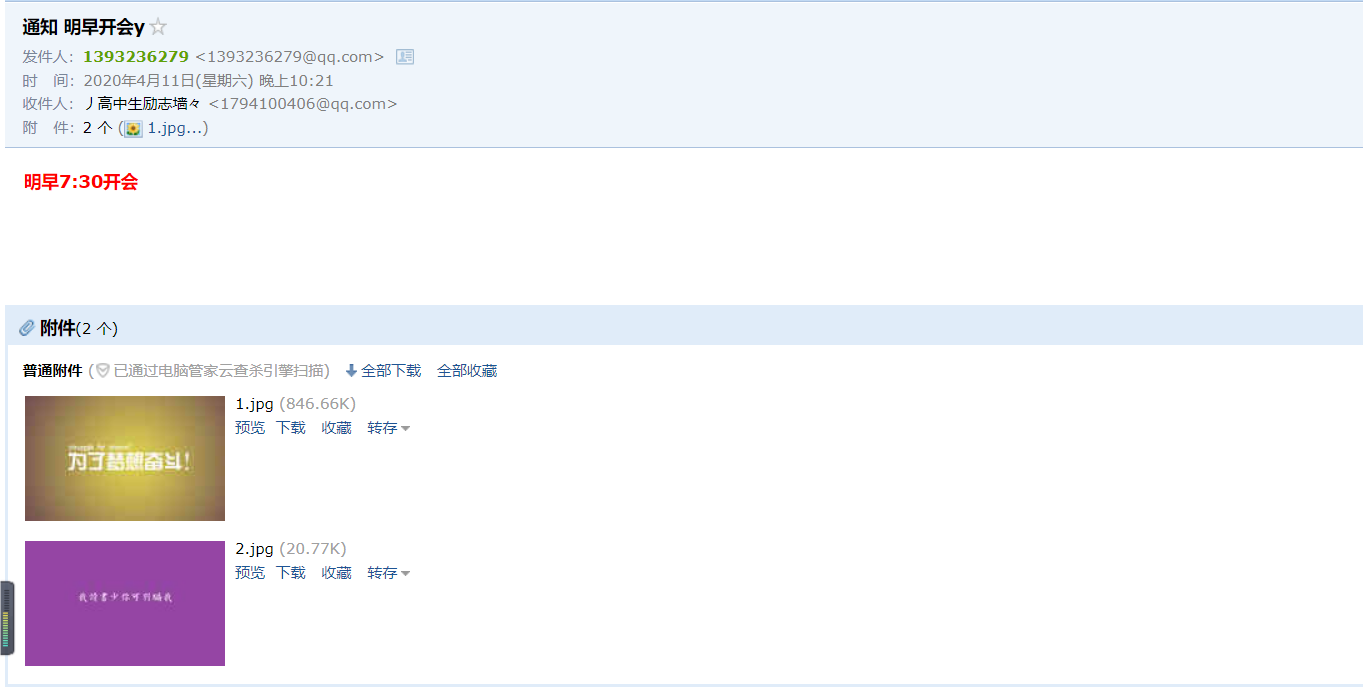
2. 复杂邮件发送 1 2 3 4 5 6 7 8 9 10 11 12 13 14 15 @Test void test () throws MessagingException { MimeMessage mimeMessage=mailSender.createMimeMessage(); MimeMessageHelper helper=new MimeMessageHelper (mimeMessage,true ); helper.setSubject("通知 明早开会y" ); helper.setText("<b style='color:red'>明早7:30开会</b>" ,true ); helper.setTo("1794100406@qq.com" ); helper.setFrom("1393236279@qq.com" ); helper.addAttachment("1.jpg" ,new File ("C:\\Users\\zhangxin\\Desktop\\lizhi\\1.jpg" )); helper.addAttachment("2.jpg" ,new File ("C:\\Users\\zhangxin\\Desktop\\lizhi\\2.jpg" )); mailSender.send(mimeMessage); }
测试
上面演示了基本的邮件发送(下面整合freemark和tymeleaf模板)
在公司实际开发中,第一种和第三种都不是使用最多的邮件发送方案。因为正常来说,邮件的内容都是比较的丰富的,所以大部分邮件都是通过 HTML 来呈现的,如果直接拼接 HTML 字符串,这样以后不好维护,为了解决这个问题,一般邮件发送,都会有相应的邮件模板。最具代表性的两个模板就是 Freemarker 模板和 Thyemeleaf 模板了。
使用 Freemarker 作邮件模板
1 2 3 4 <dependency > <groupId > org.springframework.boot</groupId > <artifactId > spring-boot-starter-freemarker</artifactId > </dependency >
然后在 resources/templates 目录下创建一个 mail.ftl 作为邮件发送模板:
1 2 3 4 5 6 7 8 9 10 11 12 13 14 15 16 17 18 19 20 21 22 23 24 25 <!DOCTYPE html > <html lang ="en" > <head > <meta charset ="UTF-8" > <title > Title</title > </head > <body > <p > hello 欢迎加入 xxx 大家庭,您的入职信息如下:</p > <table border ="1" > <tr > <td > 姓名</td > <td > ${username}</td > </tr > <tr > <td > 工号</td > <td > ${num}</td > </tr > <tr > <td > 薪水</td > <td > ${salary}</td > </tr > </table > <div style ="color: #ff1a0e" > 一起努力创造辉煌</div > </body > </html >
接下来,将邮件模板渲染成 HTML ,然后发送即可。
1 2 3 4 5 6 7 8 9 10 11 12 13 14 15 16 17 18 19 20 21 22 23 24 25 26 27 @Test public void sendFreemarkerMail () throws MessagingException, IOException, TemplateException { MimeMessage mimeMessage = javaMailSender.createMimeMessage(); MimeMessageHelper helper = new MimeMessageHelper (mimeMessage, true ); helper.setSubject("这是一封测试邮件" ); helper.setFrom("1510161612@qq.com" ); helper.setTo("25xxxxx755@qq.com" ); helper.setCc("37xxxxx37@qq.com" ); helper.setBcc("14xxxxx098@qq.com" ); helper.setSentDate(new Date ()); Configuration configuration = new Configuration (Configuration.VERSION_2_3_0); ClassLoader loader = MailApplication.class.getClassLoader(); configuration.setClassLoaderForTemplateLoading(loader, "templates" ); Template template = configuration.getTemplate("mail.ftl" ); User user = new User (); user.setUsername("javaboy" ); user.setNum(1 ); user.setSalary((double ) 99999 ); StringWriter out = new StringWriter (); template.process(user, out); helper.setText(out.toString(),true ); javaMailSender.send(mimeMessage); }
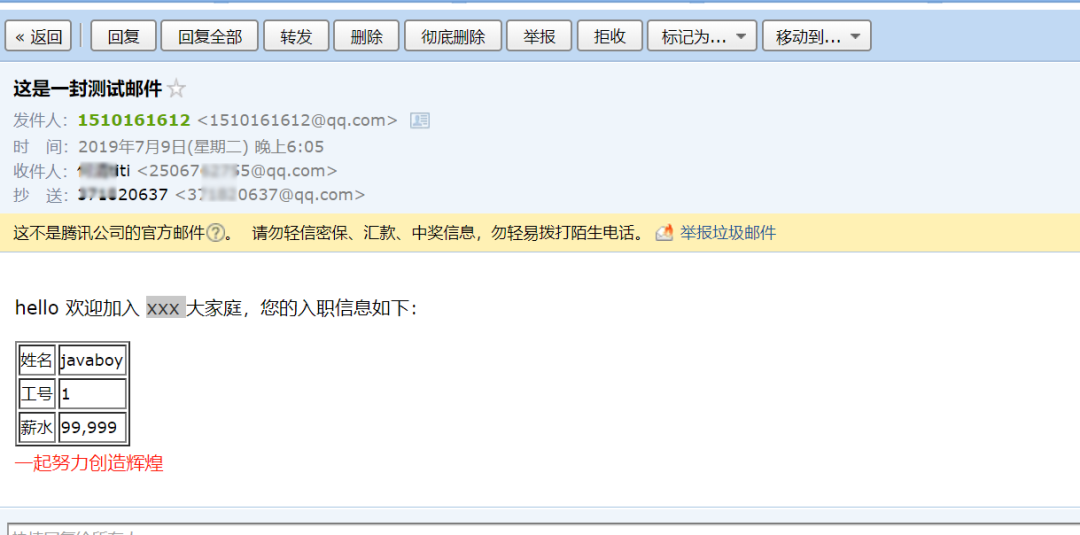
需要注意的是,虽然引入了 Freemarker 的自动化配置,但是我们在这里是直接 new Configuration 来重新配置 Freemarker 的,所以 Freemarker 默认的配置这里不生效,因此,在填写模板位置时,值为 templates 。
调用该方法,发送邮件,效果图如下:
使用 Thymeleaf 作邮件模板
首先,引入 Thymeleaf 依赖:
1 2 3 4 <dependency > <groupId > org.springframework.boot</groupId > <artifactId > spring-boot-starter-thymeleaf</artifactId > </dependency >
然后,创建 Thymeleaf 邮件模板:
1
2
3
4
5
6
7
8
9
10
11
12
13
14
15
16
17
18
19
20
21
22
23
24
25
<!DOCTYPE html > <html lang ="en" xmlns:th ="http://www.thymeleaf.org" > <head > <meta charset ="UTF-8" > <title > Title</title > </head > <body > <p > hello 欢迎加入 xxx 大家庭,您的入职信息如下:</p > <table border ="1" > <tr > <td > 姓名</td > <td th:text ="${username}" > </td > </tr > <tr > <td > 工号</td > <td th:text ="${num}" > </td > </tr > <tr > <td > 薪水</td > <td th:text ="${salary}" > </td > </tr > </table > <div style ="color: #ff1a0e" > 一起努力创造辉煌</div > </body > </html >
接下来发送邮件:
1 2 3 4 5 6 7 8 9 10 11 12 13 14 15 16 17 18 19 20 21 @Autowired TemplateEngine templateEngine; @Test public void sendThymeleafMail () throws MessagingException { MimeMessage mimeMessage = javaMailSender.createMimeMessage(); MimeMessageHelper helper = new MimeMessageHelper (mimeMessage, true ); helper.setSubject("这是一封测试邮件" ); helper.setFrom("1510161612@qq.com" ); helper.setTo("25xxxxx755@qq.com" ); helper.setCc("37xxxxx37@qq.com" ); helper.setBcc("14xxxxx098@qq.com" ); helper.setSentDate(new Date ()); Context context = new Context (); context.setVariable("username" , "javaboy" ); context.setVariable("num" ,"000001" ); context.setVariable("salary" , "99999" ); String process = templateEngine.process("mail.html" , context); helper.setText(process,true ); javaMailSender.send(mimeMessage); }
调用该方法,发送邮件,效果图如下:
和模板整合摘自微信公号:江南一点雨(是个大佬)
原文链接:https://mp.weixin.qq.com/s/FKyQNyPDQY8O25Hk2x7rKg