dependencyManagement

Maven使用dependencyManagement元素来提供了一种管理依赖版本号的方式。

通常会在一个组织或者项目的最顶层的父pom中看到dependencyManagement元素

使用pom.xml中的dependencyManagement元素能让所有在子项目中引用一个依赖而不用显式的列出版本号。

Maven会沿着父子层次向上走,知道找到一个拥有dependencyManagement元素的项目,然后它就会使用这个dependencyManagement元素中指定的版本号
例如在父项目里:

1
2
3
4
5
6
7
8
9
10
<dependencyManagement>
<dependencies>
<dependency>
<groupId>mysql</groupId>
<artifactId>mysql-connector-java</artifactId>
<version>5.1.2</version>
</dependency>
...
</dependencies>
</dependencyManagement>

然后在子项目里就可以添加mysql-connector时可以不指定版本号,例如:

1
2
3
4
5
6
<dependencies>
<dependency>
<groupId>mysql</groupId>
<artifactId>mysql-connector-java</artifactId>
</dependency>
</dependencies>

这样做的好处是:如果有多个子项目都需要引用同一样依赖,则可以避免在每个使用的子项目里都声明一个版本号,这样当想升级或切换到另一个版本时,只需要在顶层父容器里更新,而不需要一个一个子项目的修改;另外如果某个子项目需要另外的一个版本号,只需要声明version即可。

注意:

  1. dependencyManagement里只是声明依赖,并不实现引入,因此子项目需要显式的声明需要用的依赖。
  2. 如果不在子项目中声明依赖,是不会从父项目中继承下来的;只有在子项目中写了该依赖项,并且没有指定具体版本才会从父项目中继承该项,并且version和scope都读取自父pom。
  3. 如果子项目中指定了版本号,那么会使用子项目中指定的jar版本。

IDEA如何进行热部署

1.添加devtools jar包到工程

1
2
3
4
5
6
<dependency>
<groupId>org.springframework.boot</groupId>
<artifactId>spring-boot-devtools</artifactId>
<scope>runtime</scope>
<optional>true</optional>
</dependency>

2.添加plugin到pom.xml

1
2
3
4
5
6
7
8
9
10
11
12
<build>
<plugins>
<plugin>
<groupId>org.springframework.boot</groupId>
<artifactId>spring-boot-maven-plugin</artifactId>
<configuration>
<fork>true</fork>
<addResources>true</addResources>
</configuration>
</plugin>
</plugins>
</build>

3.开启自动编译选项

home/zzxx/Documents/Typora/SpringCloud/images/自动编译2-1645513494646315.png)

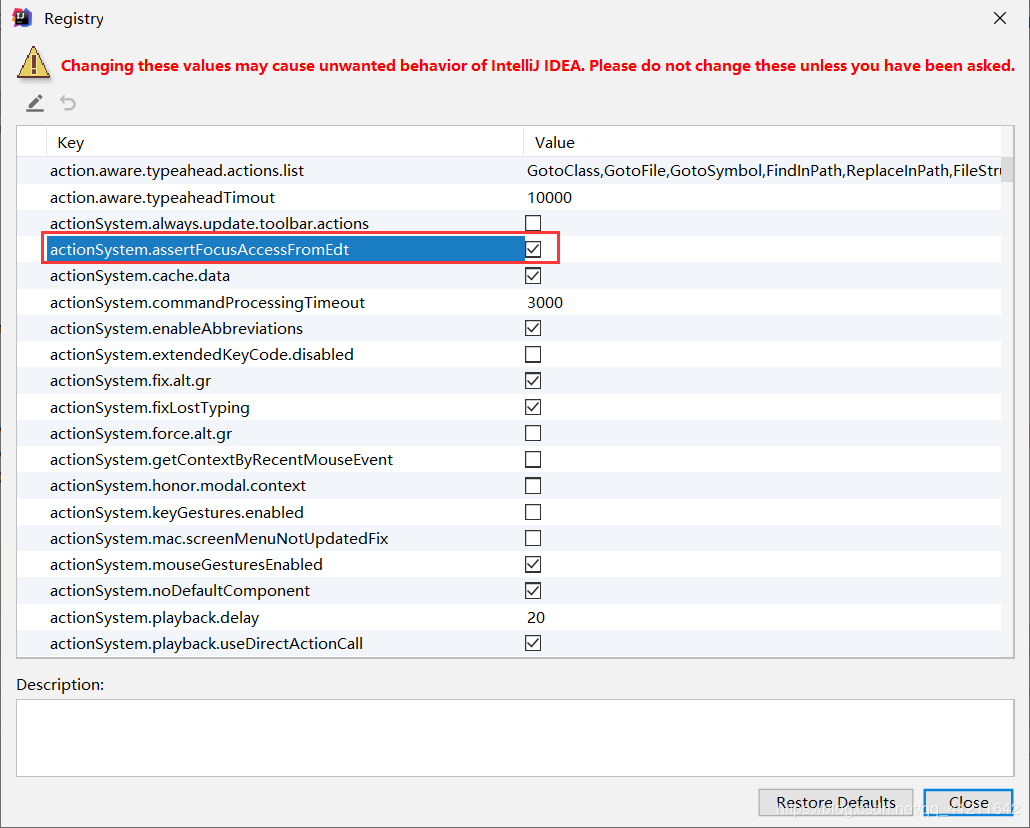
4.注册开启 Ctrl+Shift+Alt+? 选择Registry

home/zzxx/Documents/Typora/SpringCloud/images/Registry1-1645513494646317.png)

home/zzxx/Documents/Typora/SpringCloud/images/Registry2-1645513494647319.png)

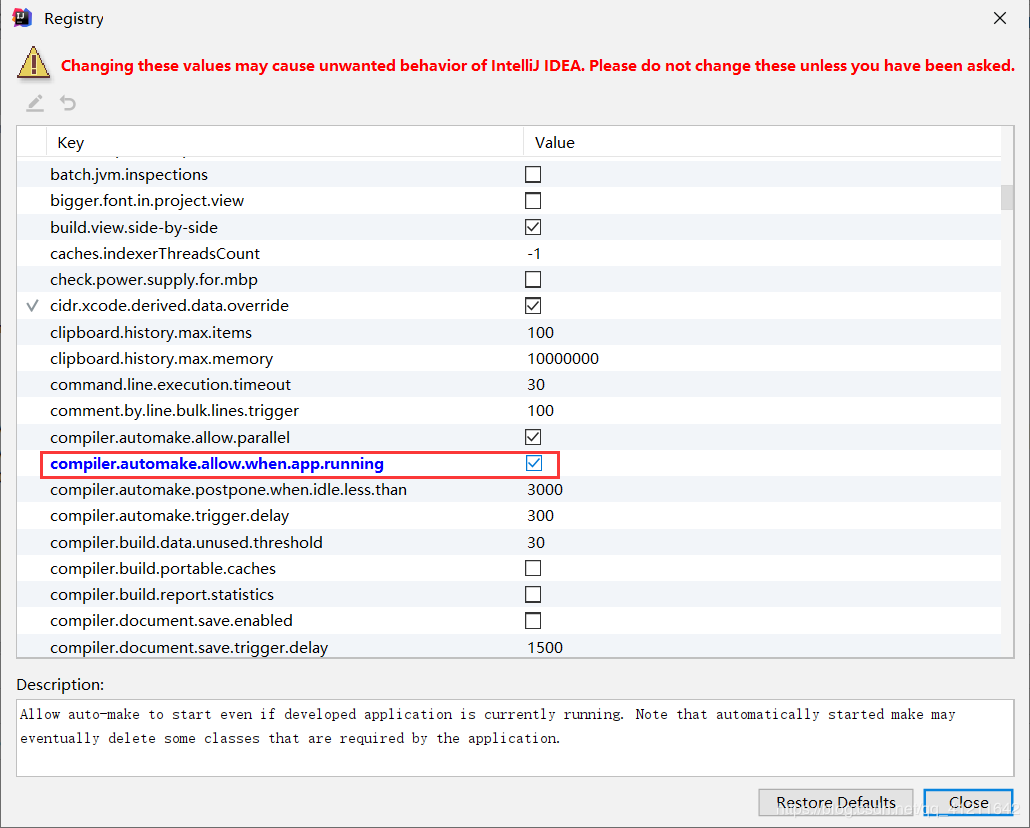
5.重启IDEA,启动项目,当修改Java代码IDEA就会自动进行编译了。

微服务下开启IDEA的Services(Dashboard)窗口

1.微服务下开启IDEA的Services(Dashboard)窗口
home/zzxx/Documents/Typora/SpringCloud/images/dash-1645513494647321.png)

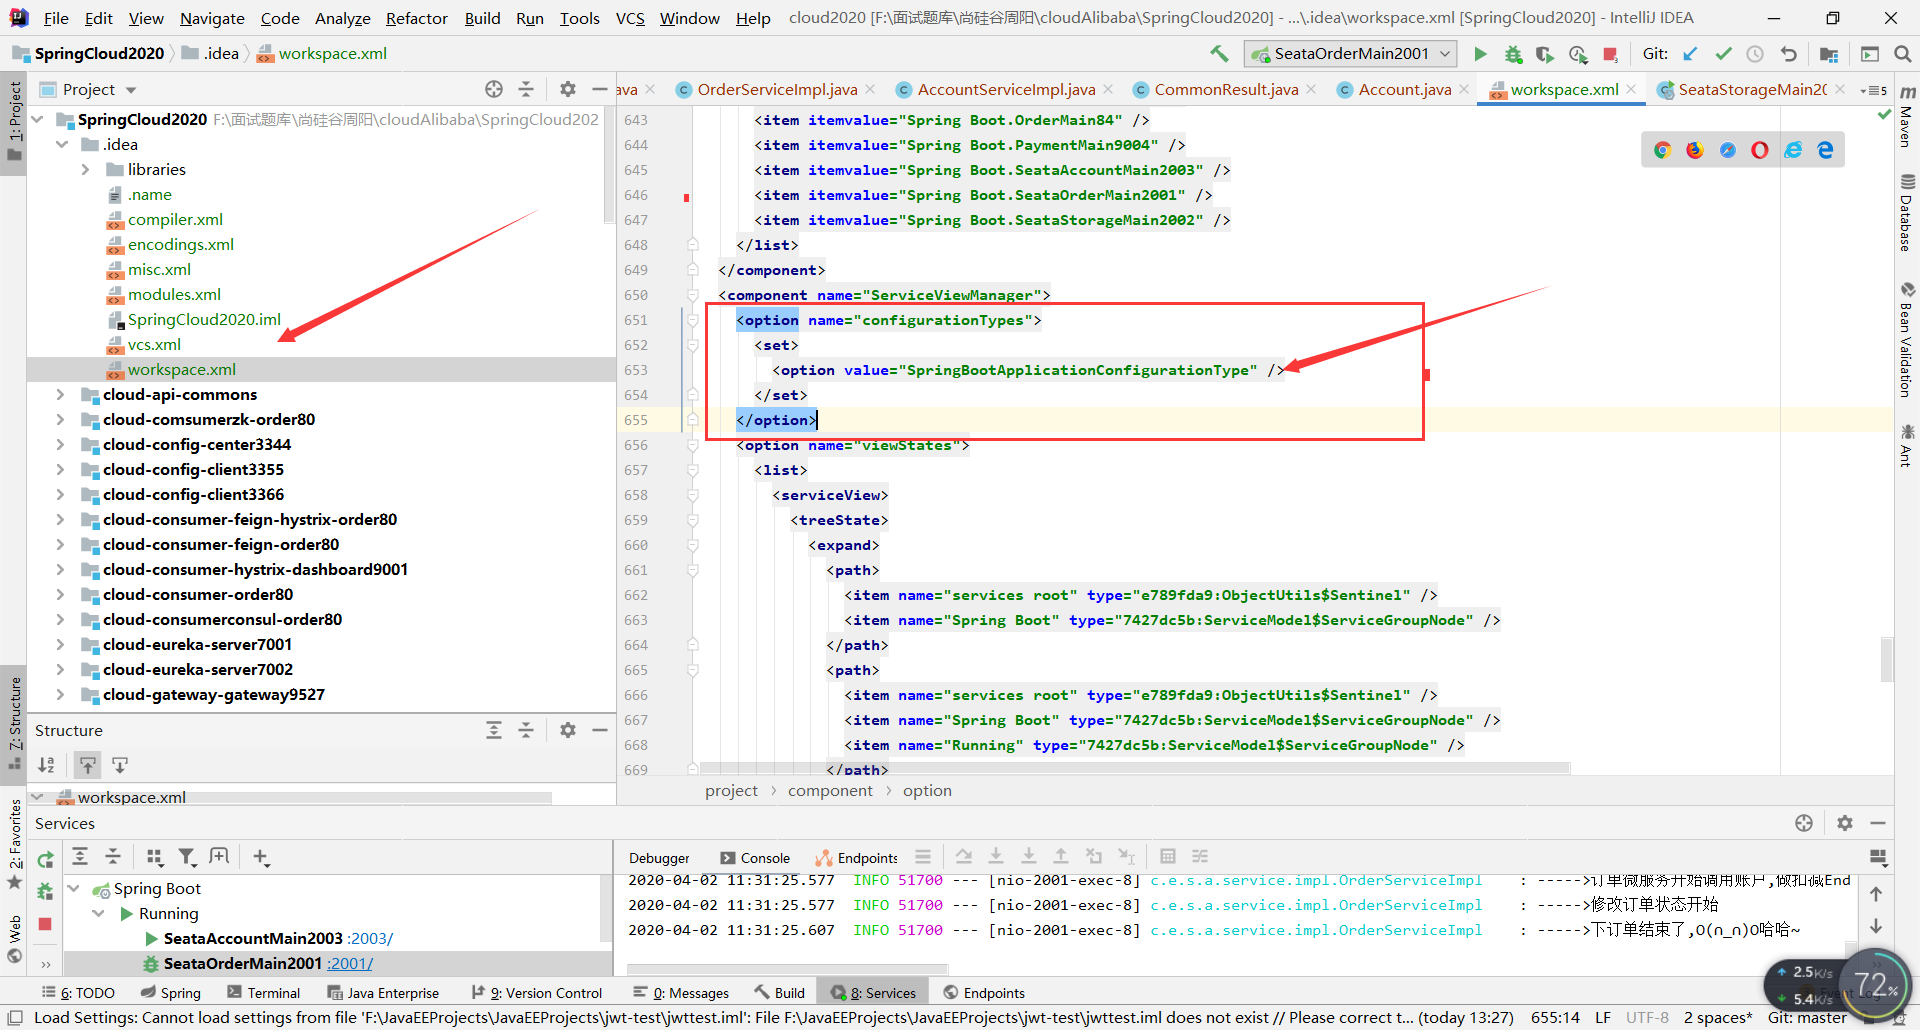
2.找到ServiceViewManager,添加如下代码:

1
2
3
4
5
<option name="configurationTypes">
<set>
<option value="SpringBootApplicationConfigurationType" />
</set>
</option>

home/zzxx/Documents/Typora/SpringCloud/images/dash2png-1645513494647323.png)

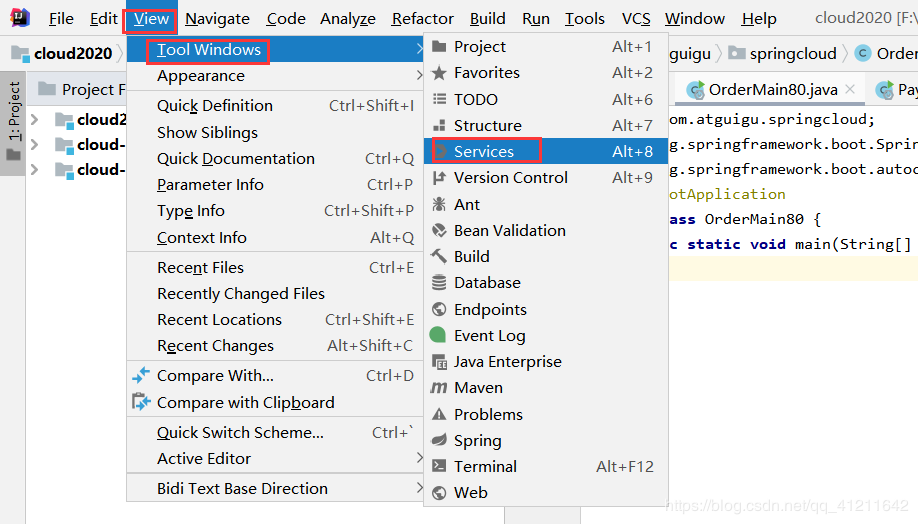
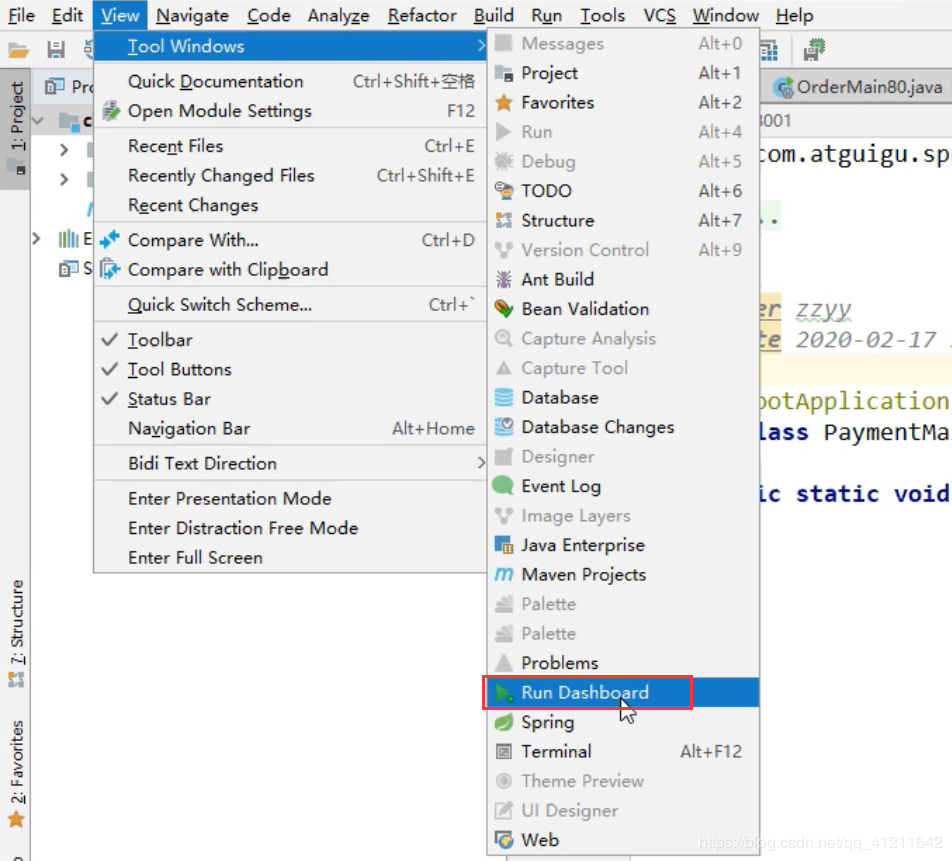
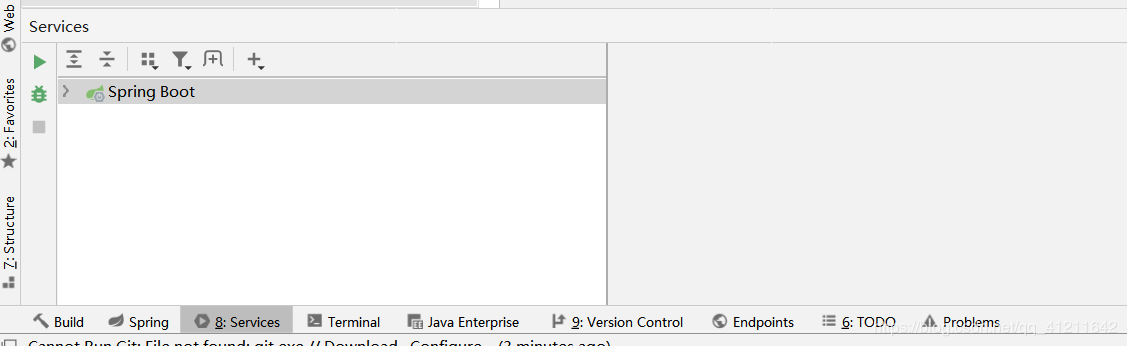
3. 关闭并重启IDEA,选择 View–>ToolWindows–>Services 开启即可。

home/zzxx/Documents/Typora/SpringCloud/images/dash3-1645513494647325.png)

如果是老一些的版本可以采用下面的方法:
workspace.xml 中插入代码的位置不是在ServiceViewManager而是RunDashboard

home/zzxx/Documents/Typora/SpringCloud/images/dash4-1645513494647327.png)

home/zzxx/Documents/Typora/SpringCloud/images/dash5png-1645513494647329.png)

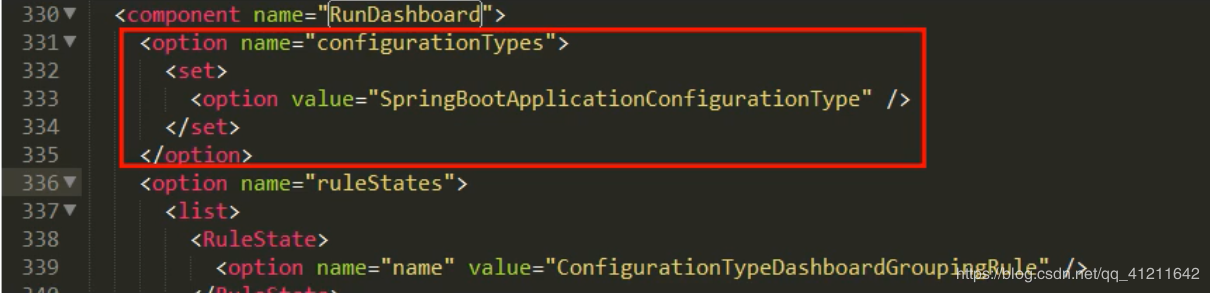
如果发现上面两种方式都不行,那就直接简单粗暴一步到位

home/zzxx/Documents/Typora/SpringCloud/images/dashboard1-1645513494647333.png)

home/zzxx/Documents/Typora/SpringCloud/images/dashboard2-1645513494647335.png)

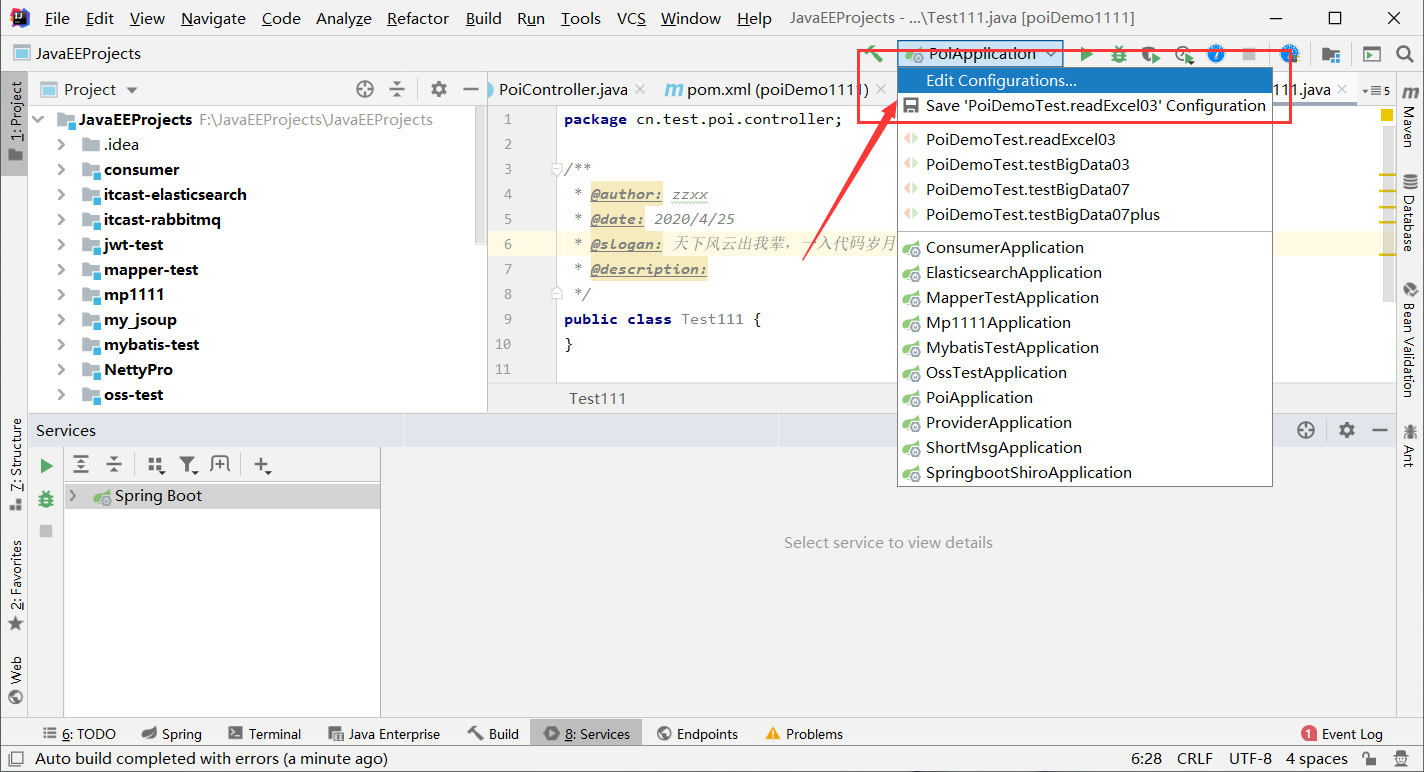
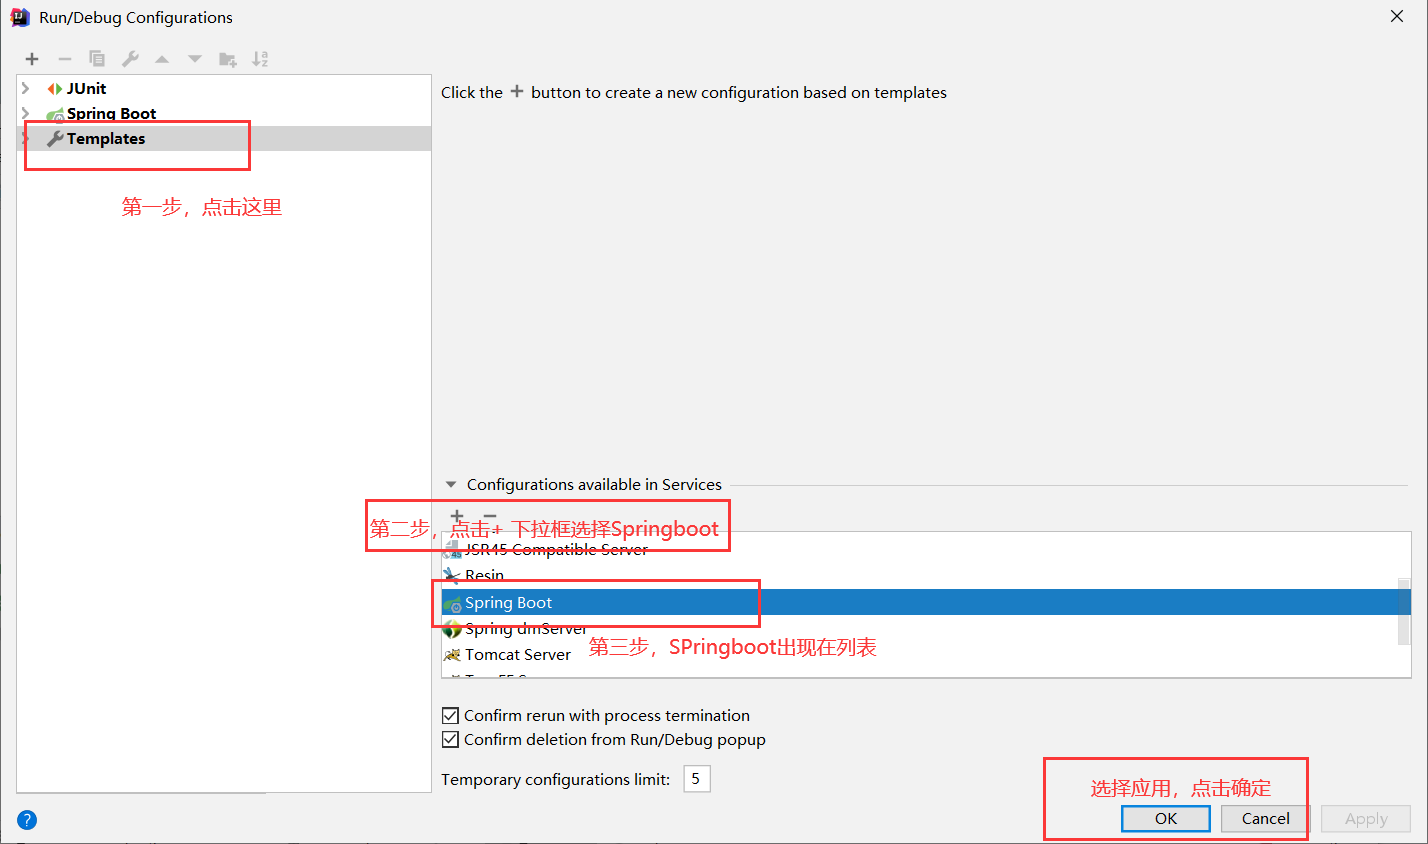
如果想关闭,直接在第三步那里 选择SpringBoot 点击 “-” 即可